Skip to content
1.Introduction: Why Proper Turf Installation Matters
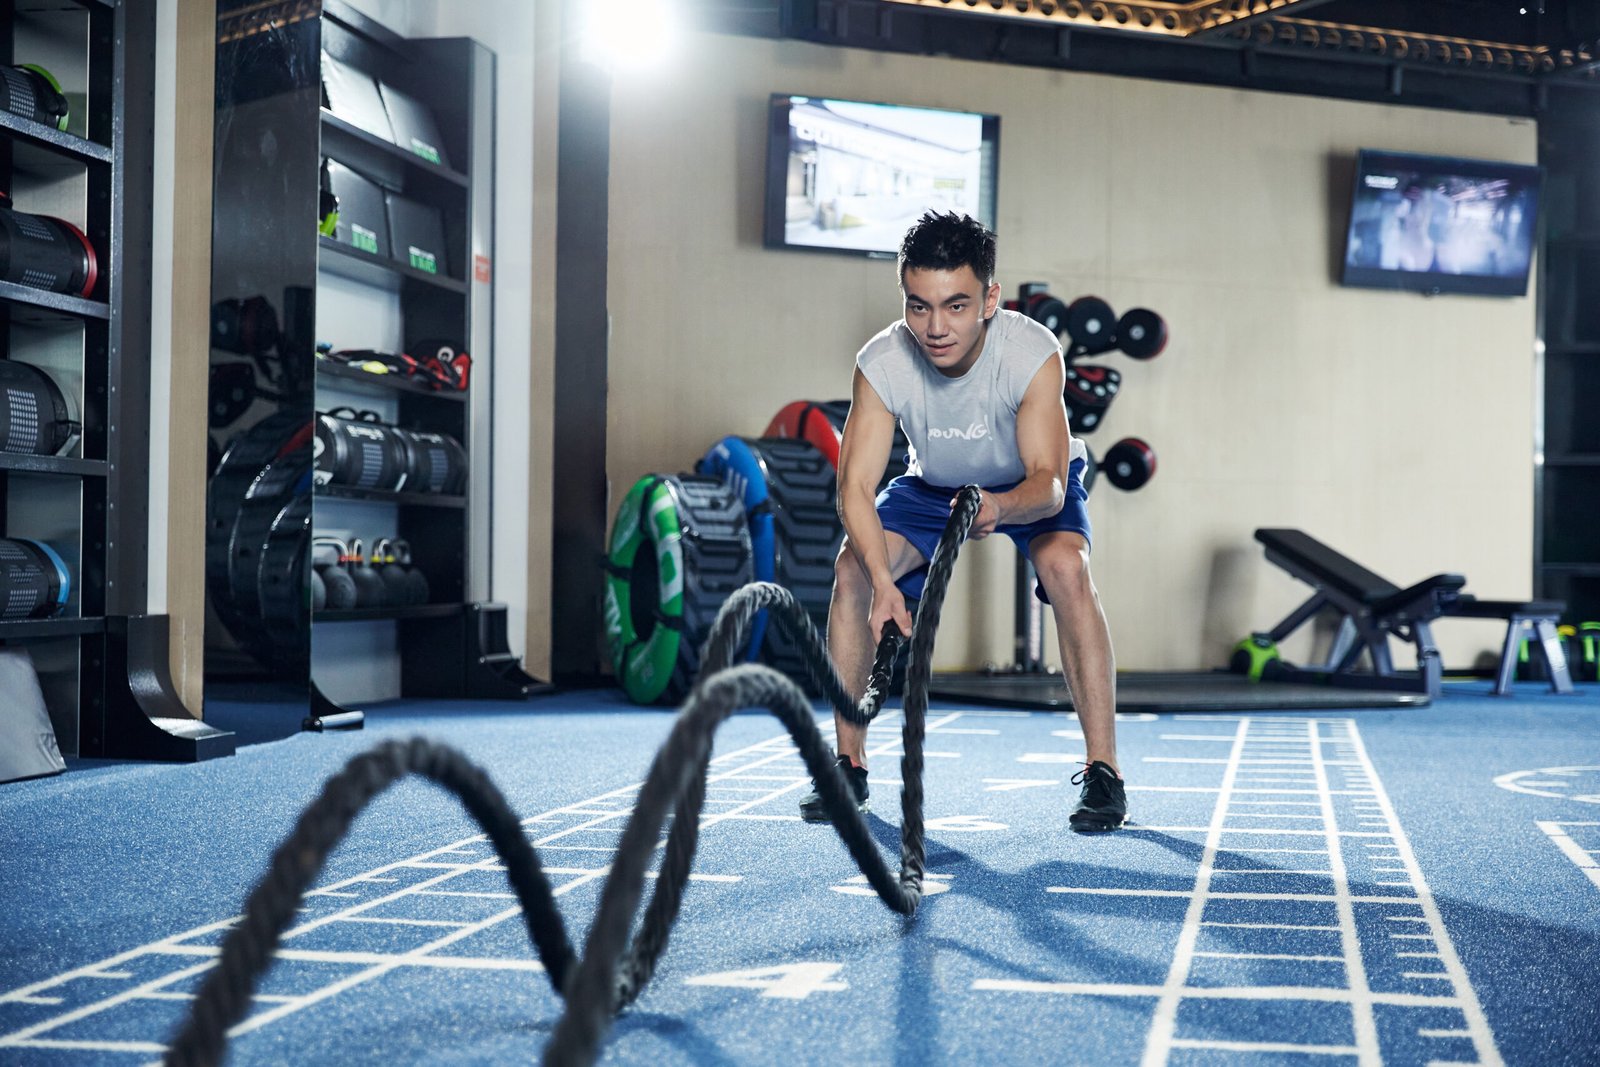
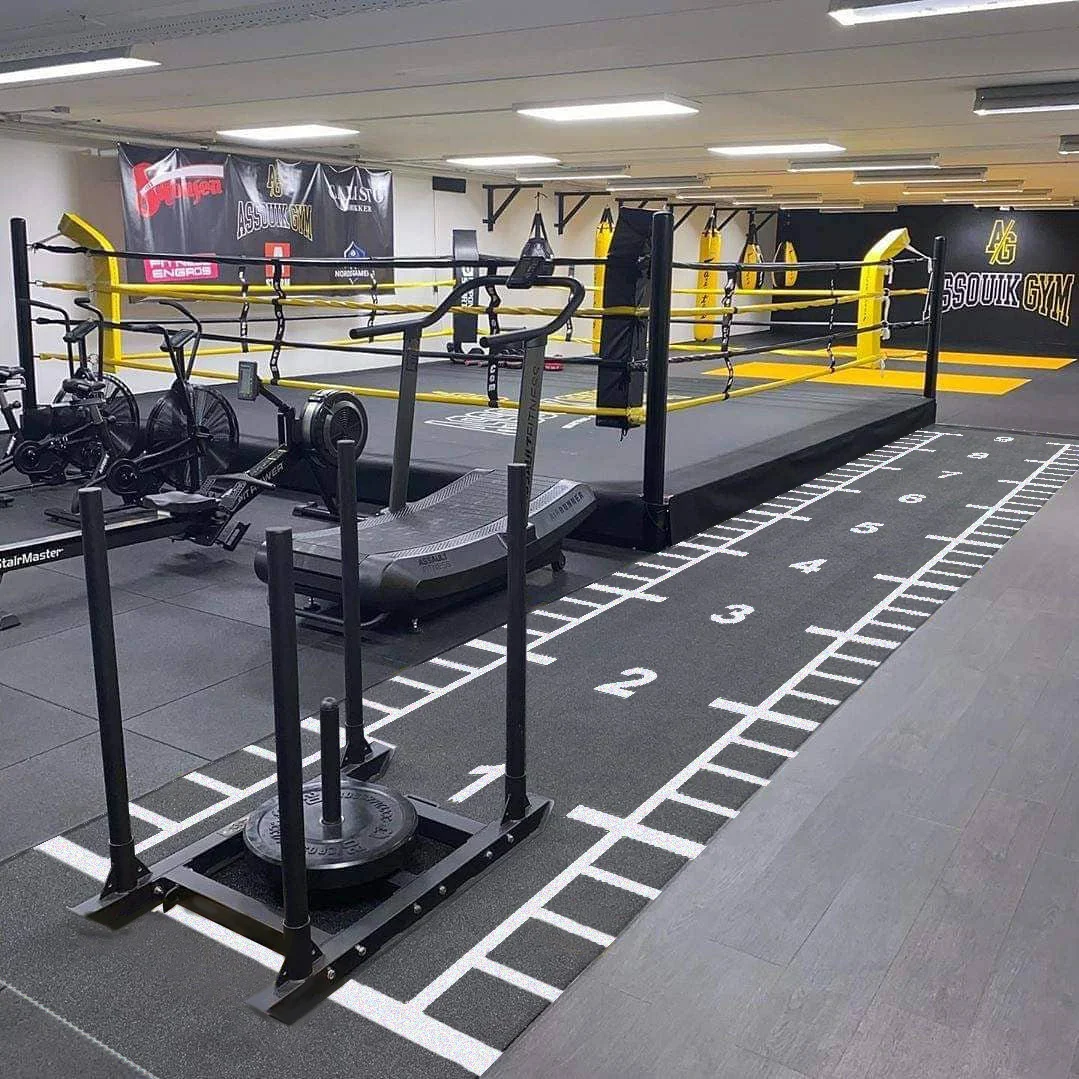
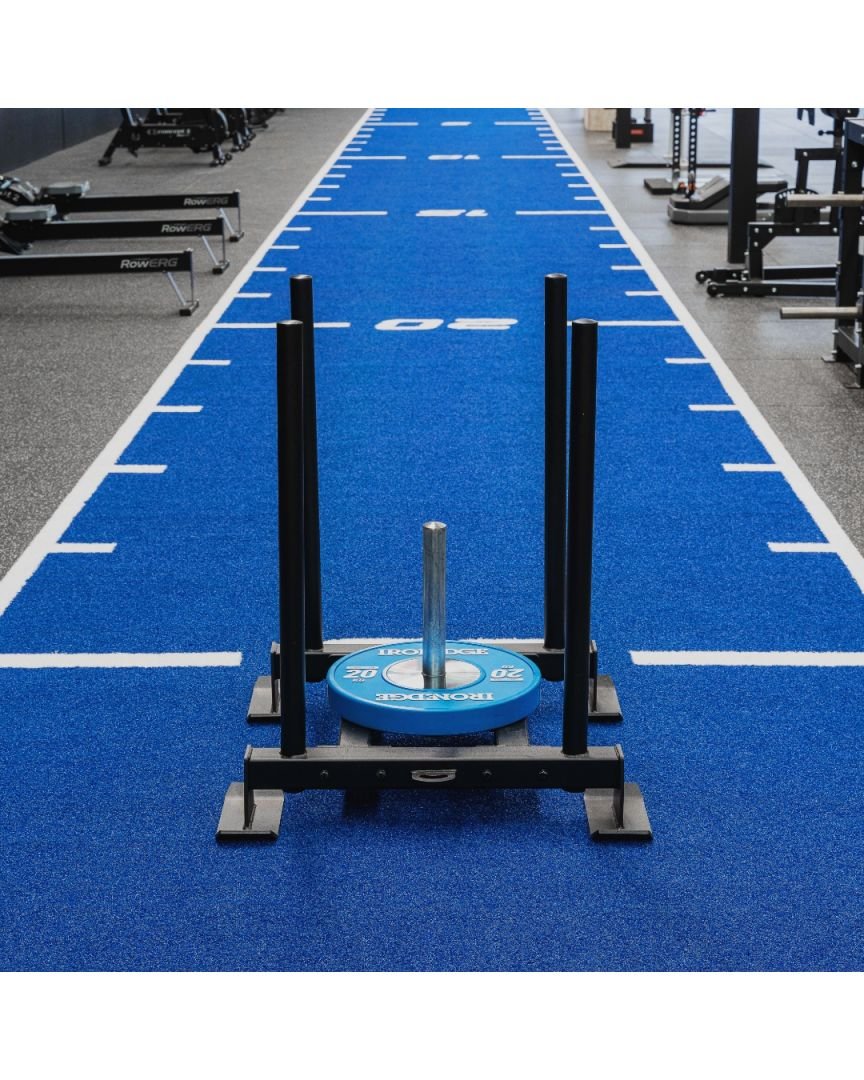
When designing a fitness space, choosing the right flooring is critical. Whether you’re building a home gym, CrossFit studio, or sled push track, proper indoor gym turf installation ensures safety, performance, and long-term durability.
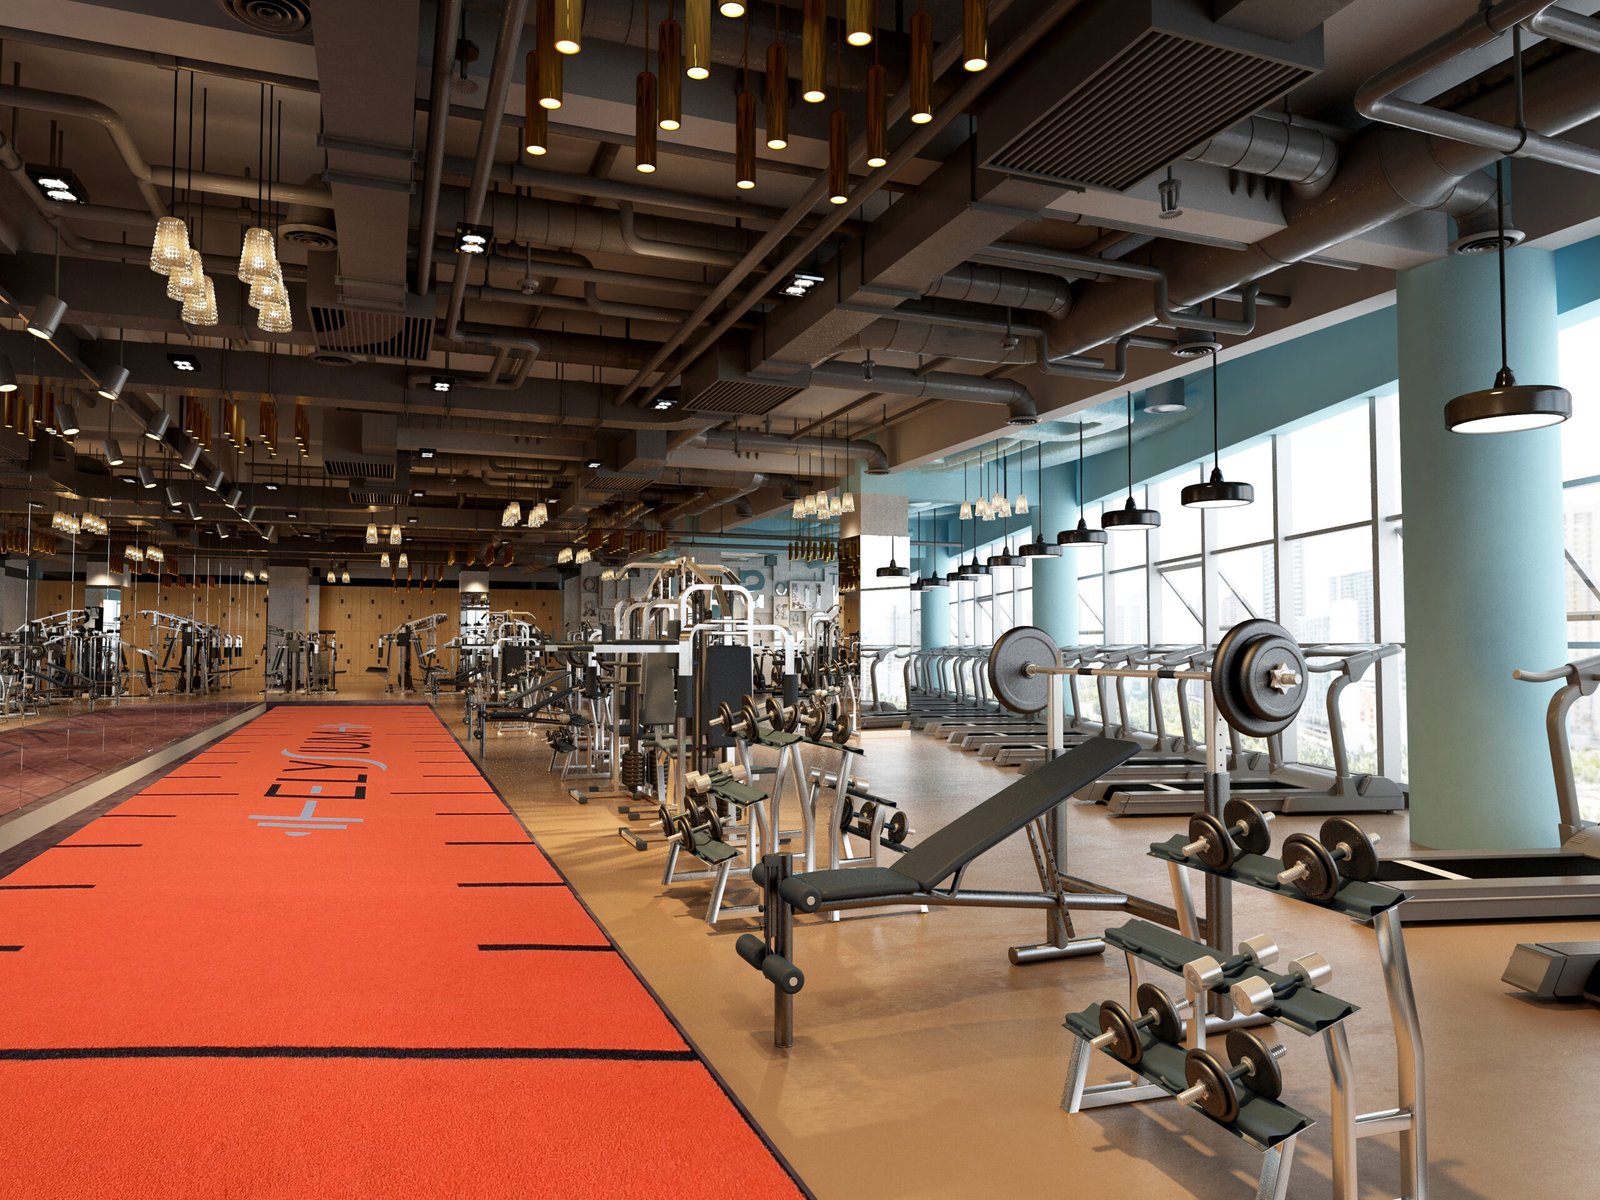
Artificial turf for gyms provides a cushioned, non-slip surface perfect for functional training. In this step-by-step turf installation guide, we’ll walk you through how to install gym turf indoors, covering everything from base preparation to seam joining.
2.Choose the Right Type of Indoor Gym Turf
Before installation, select the turf that fits your training needs and space.
Key features to consider:
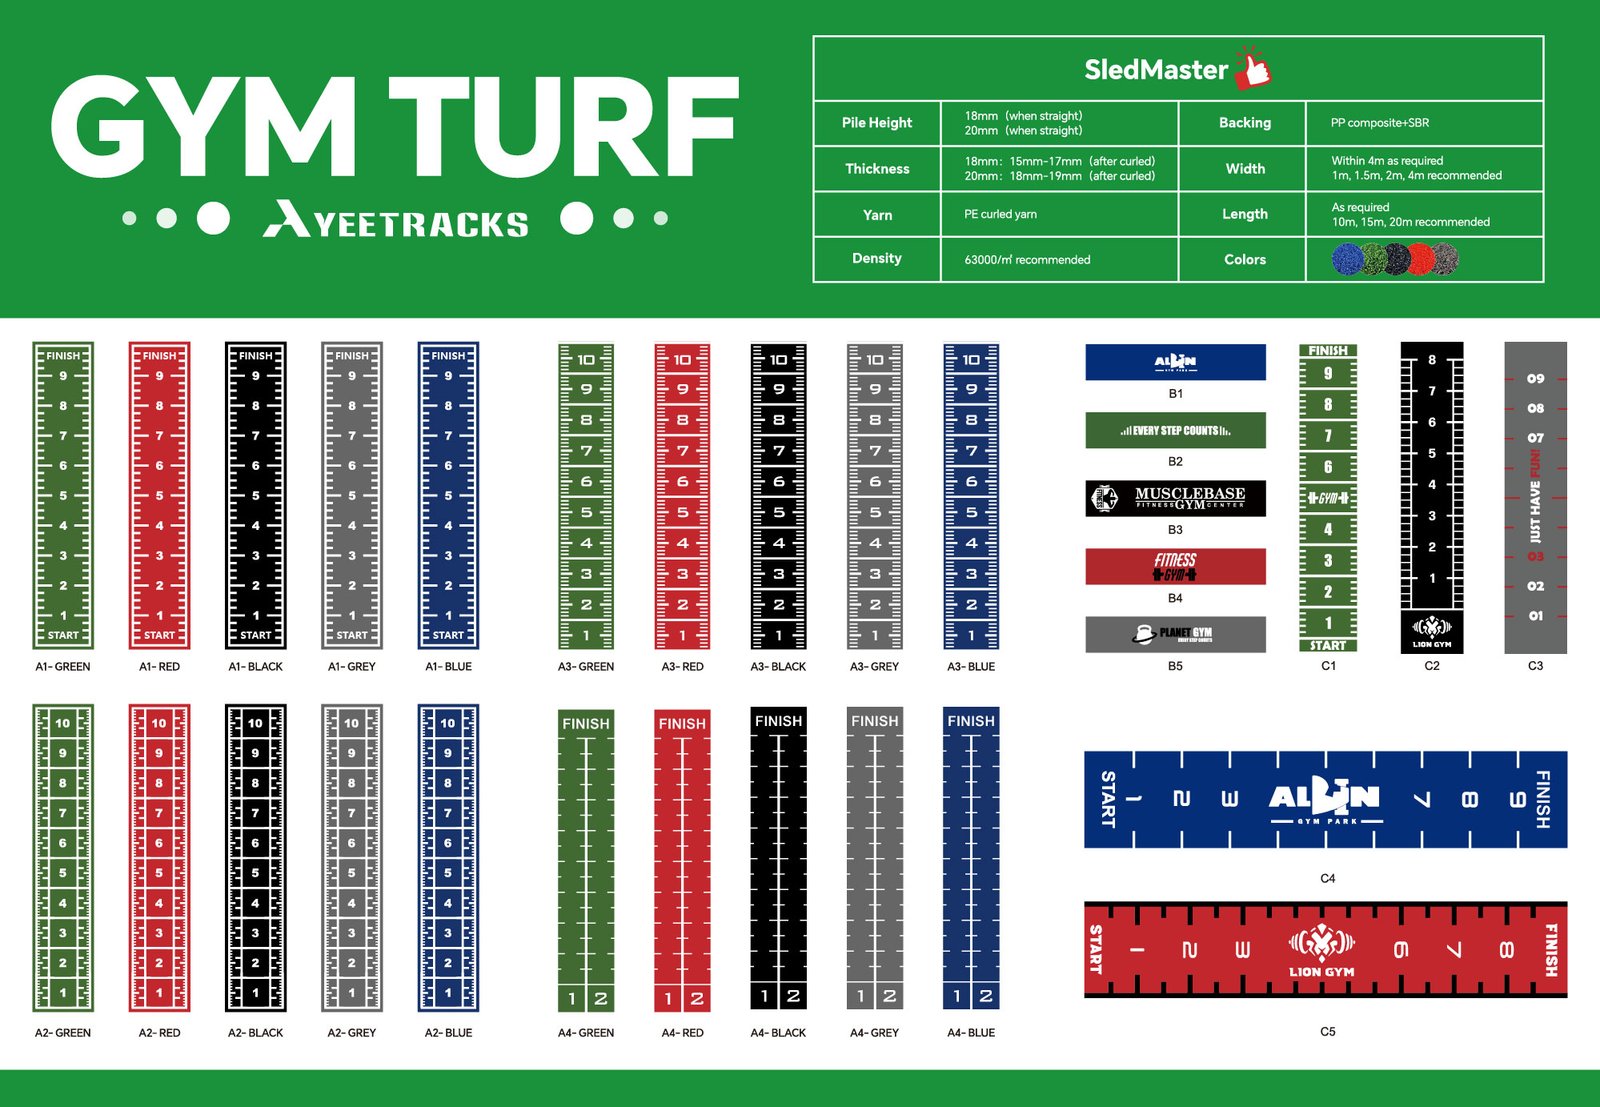
- Fiber material: Polypropylene (PP) for economy; nylon for maximum durability
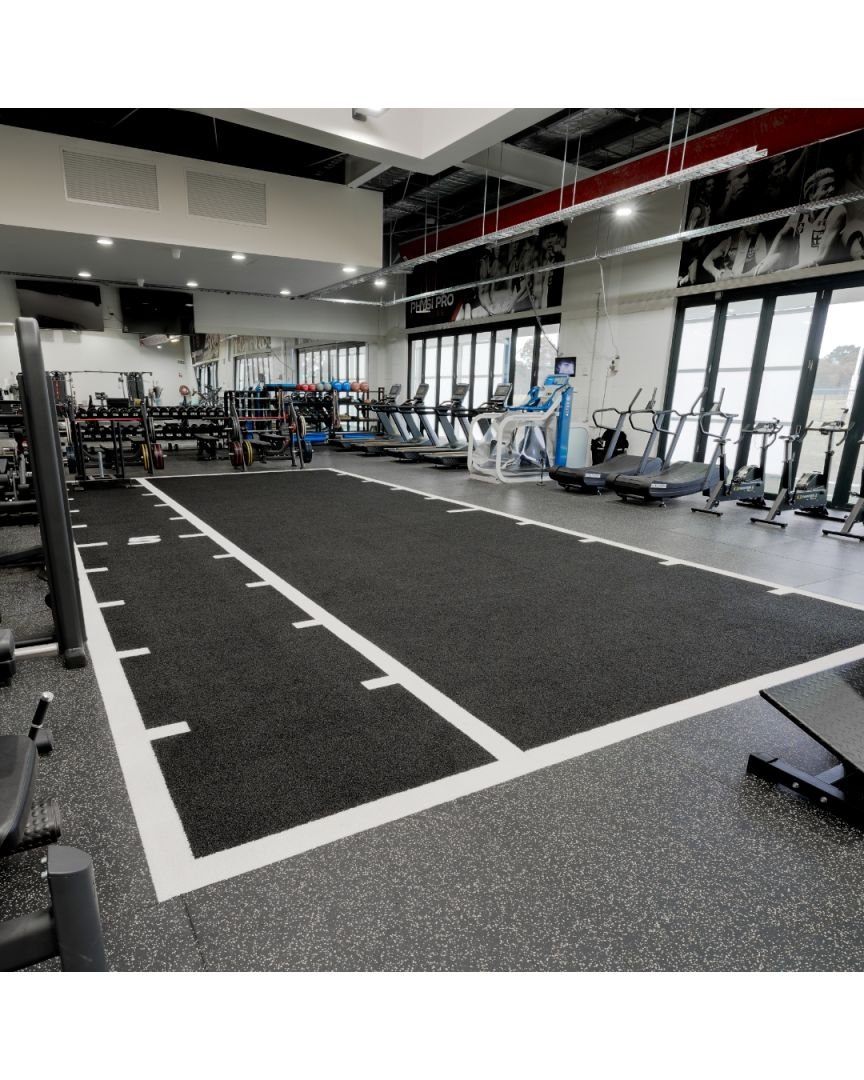
- Pile height: 10–15mm is ideal for functional training turf flooring
- Backing: Choose a non-perforated backing for indoor turf applications
- Shock pad: Optional underlay for enhanced cushioning and impact absorption
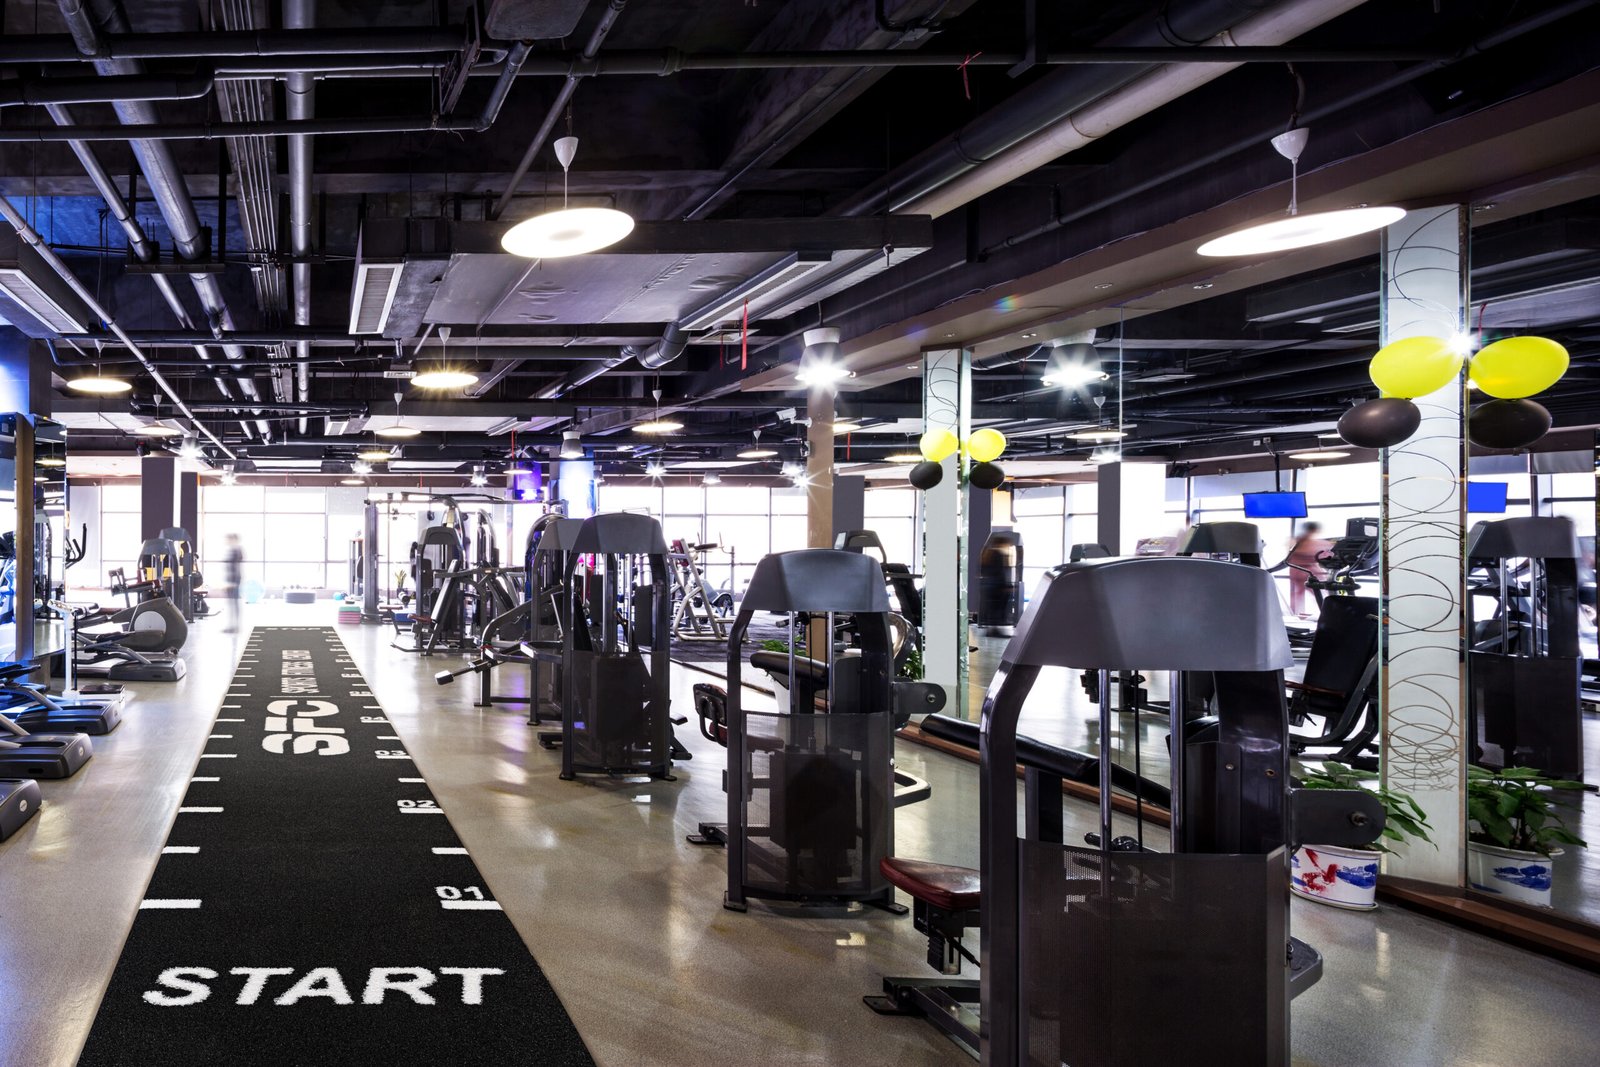
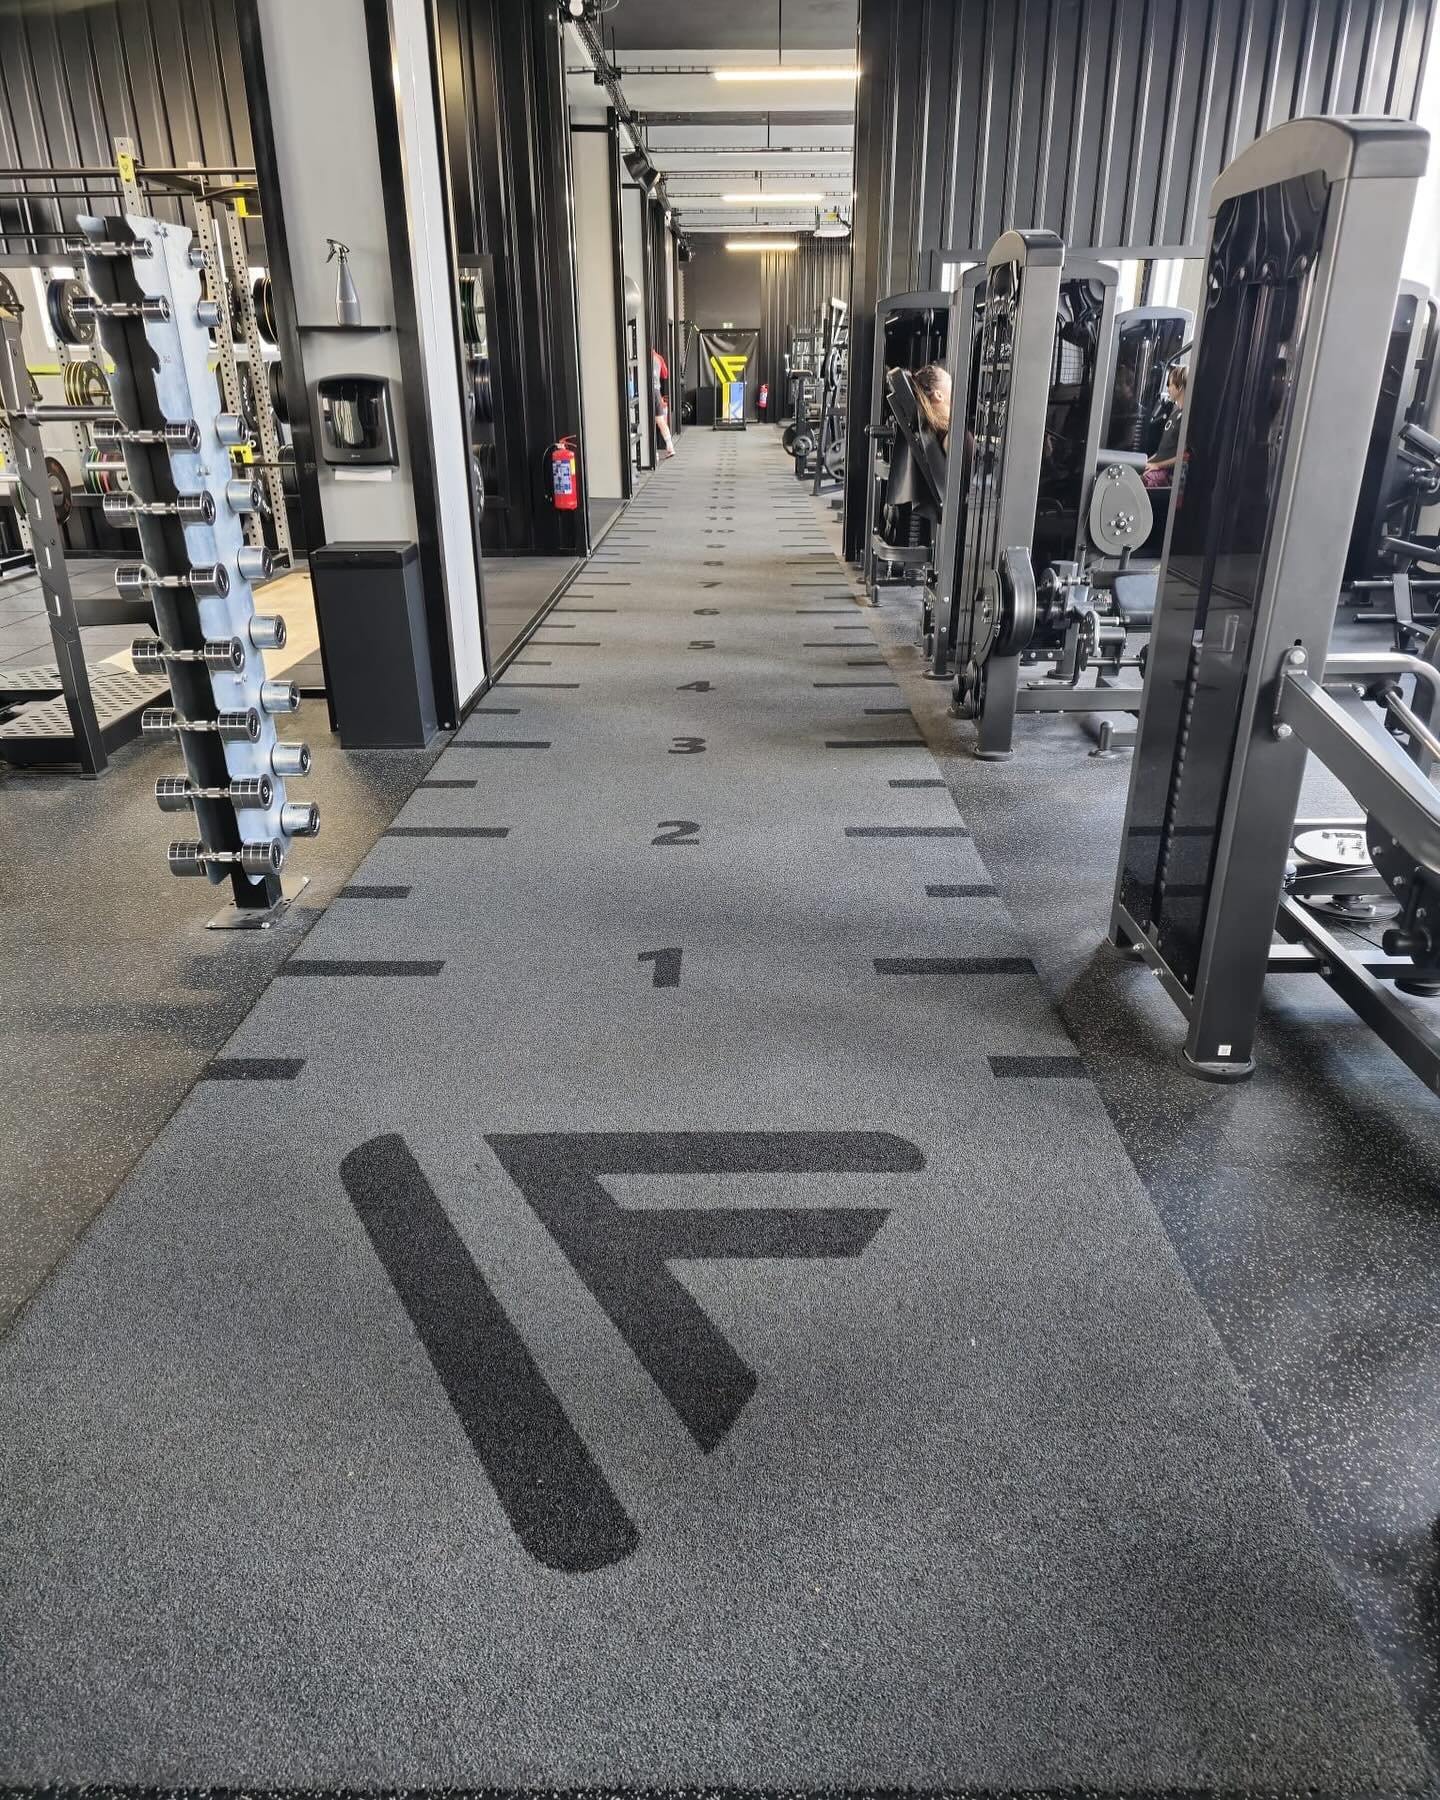
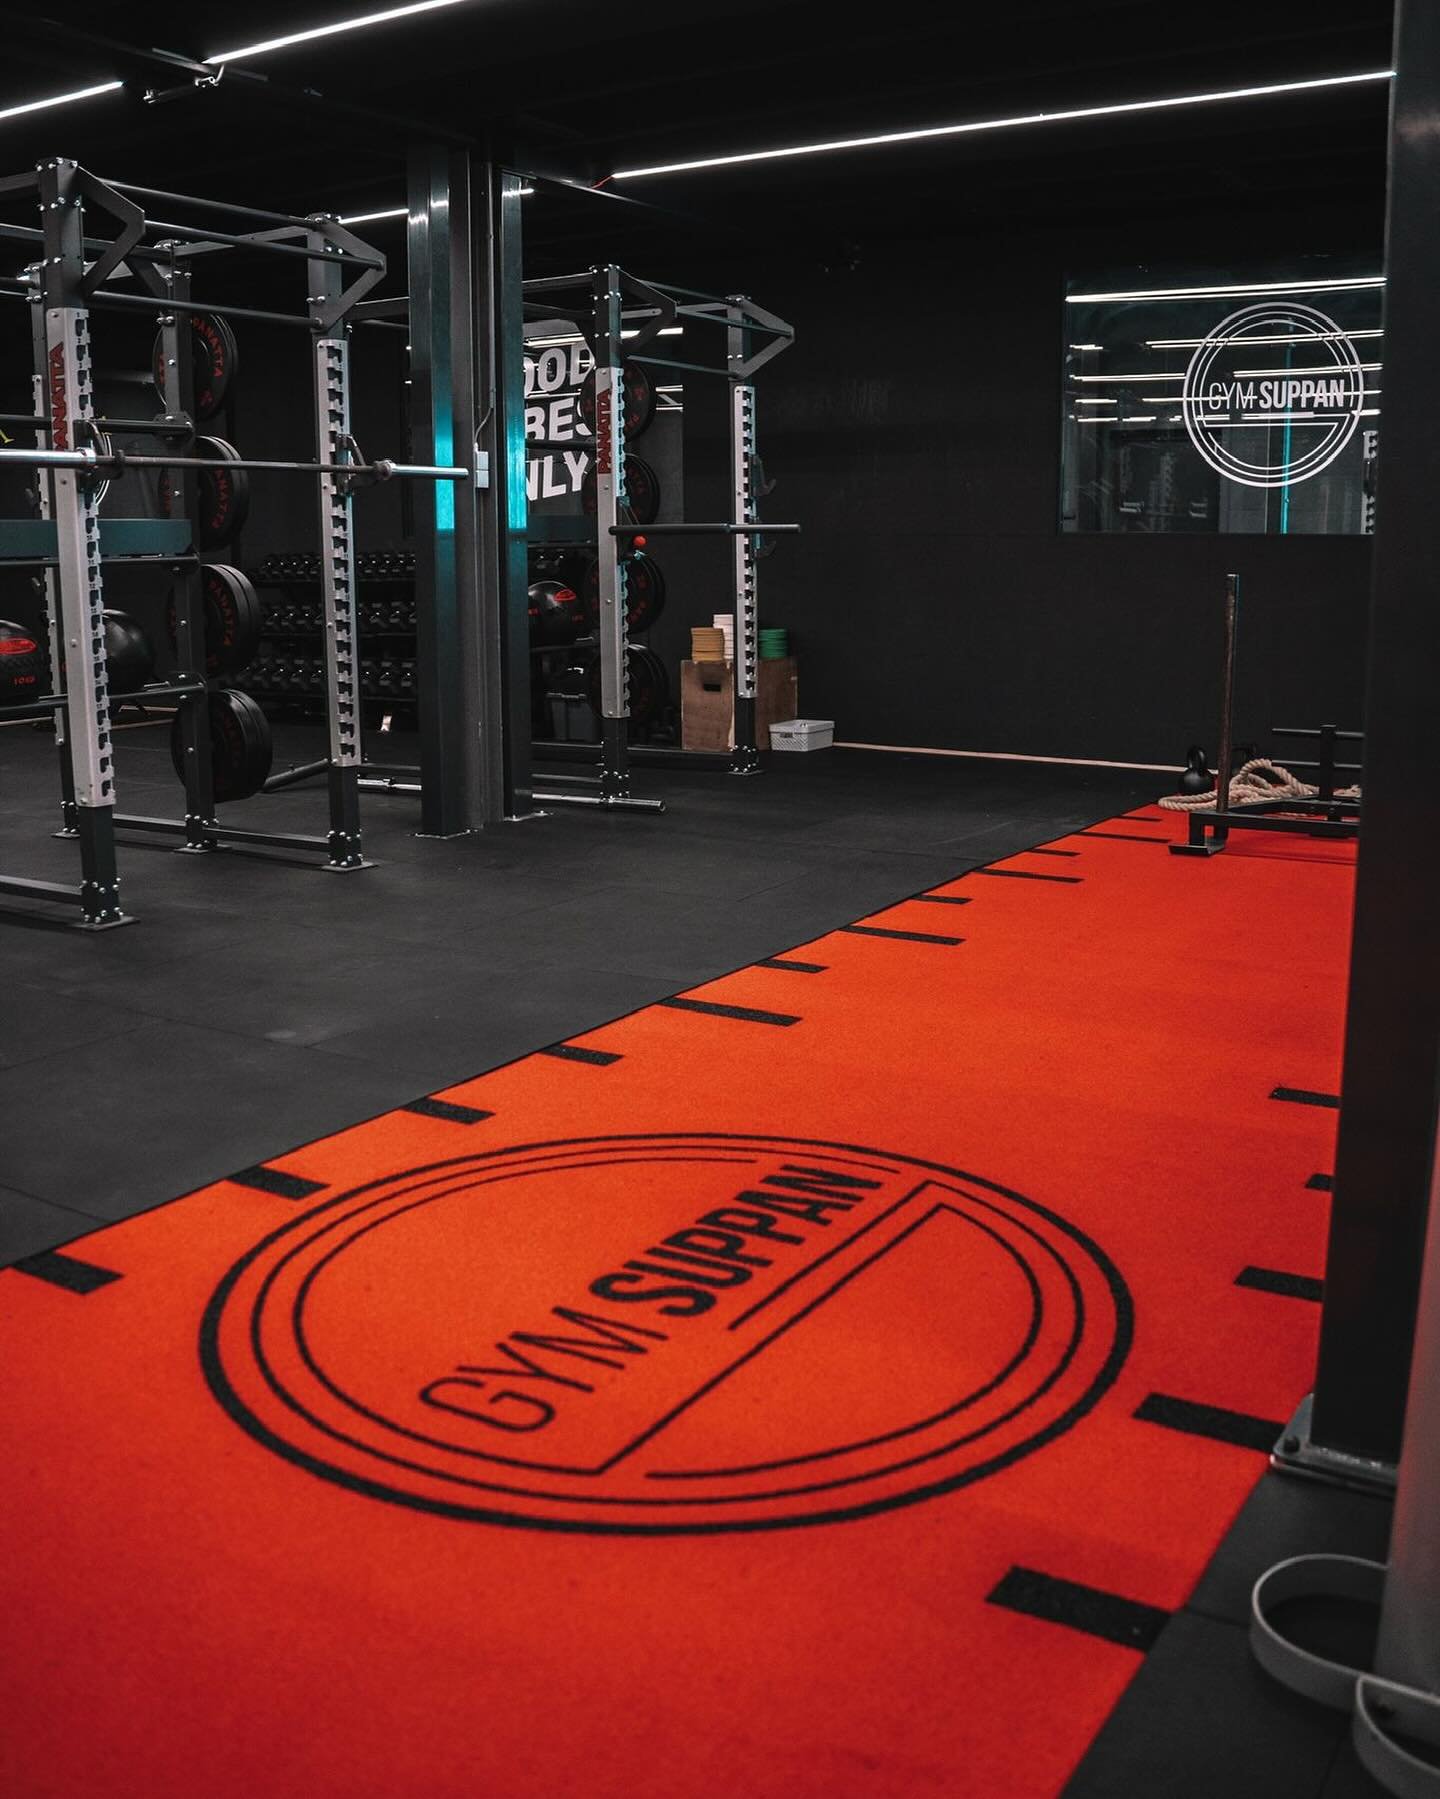
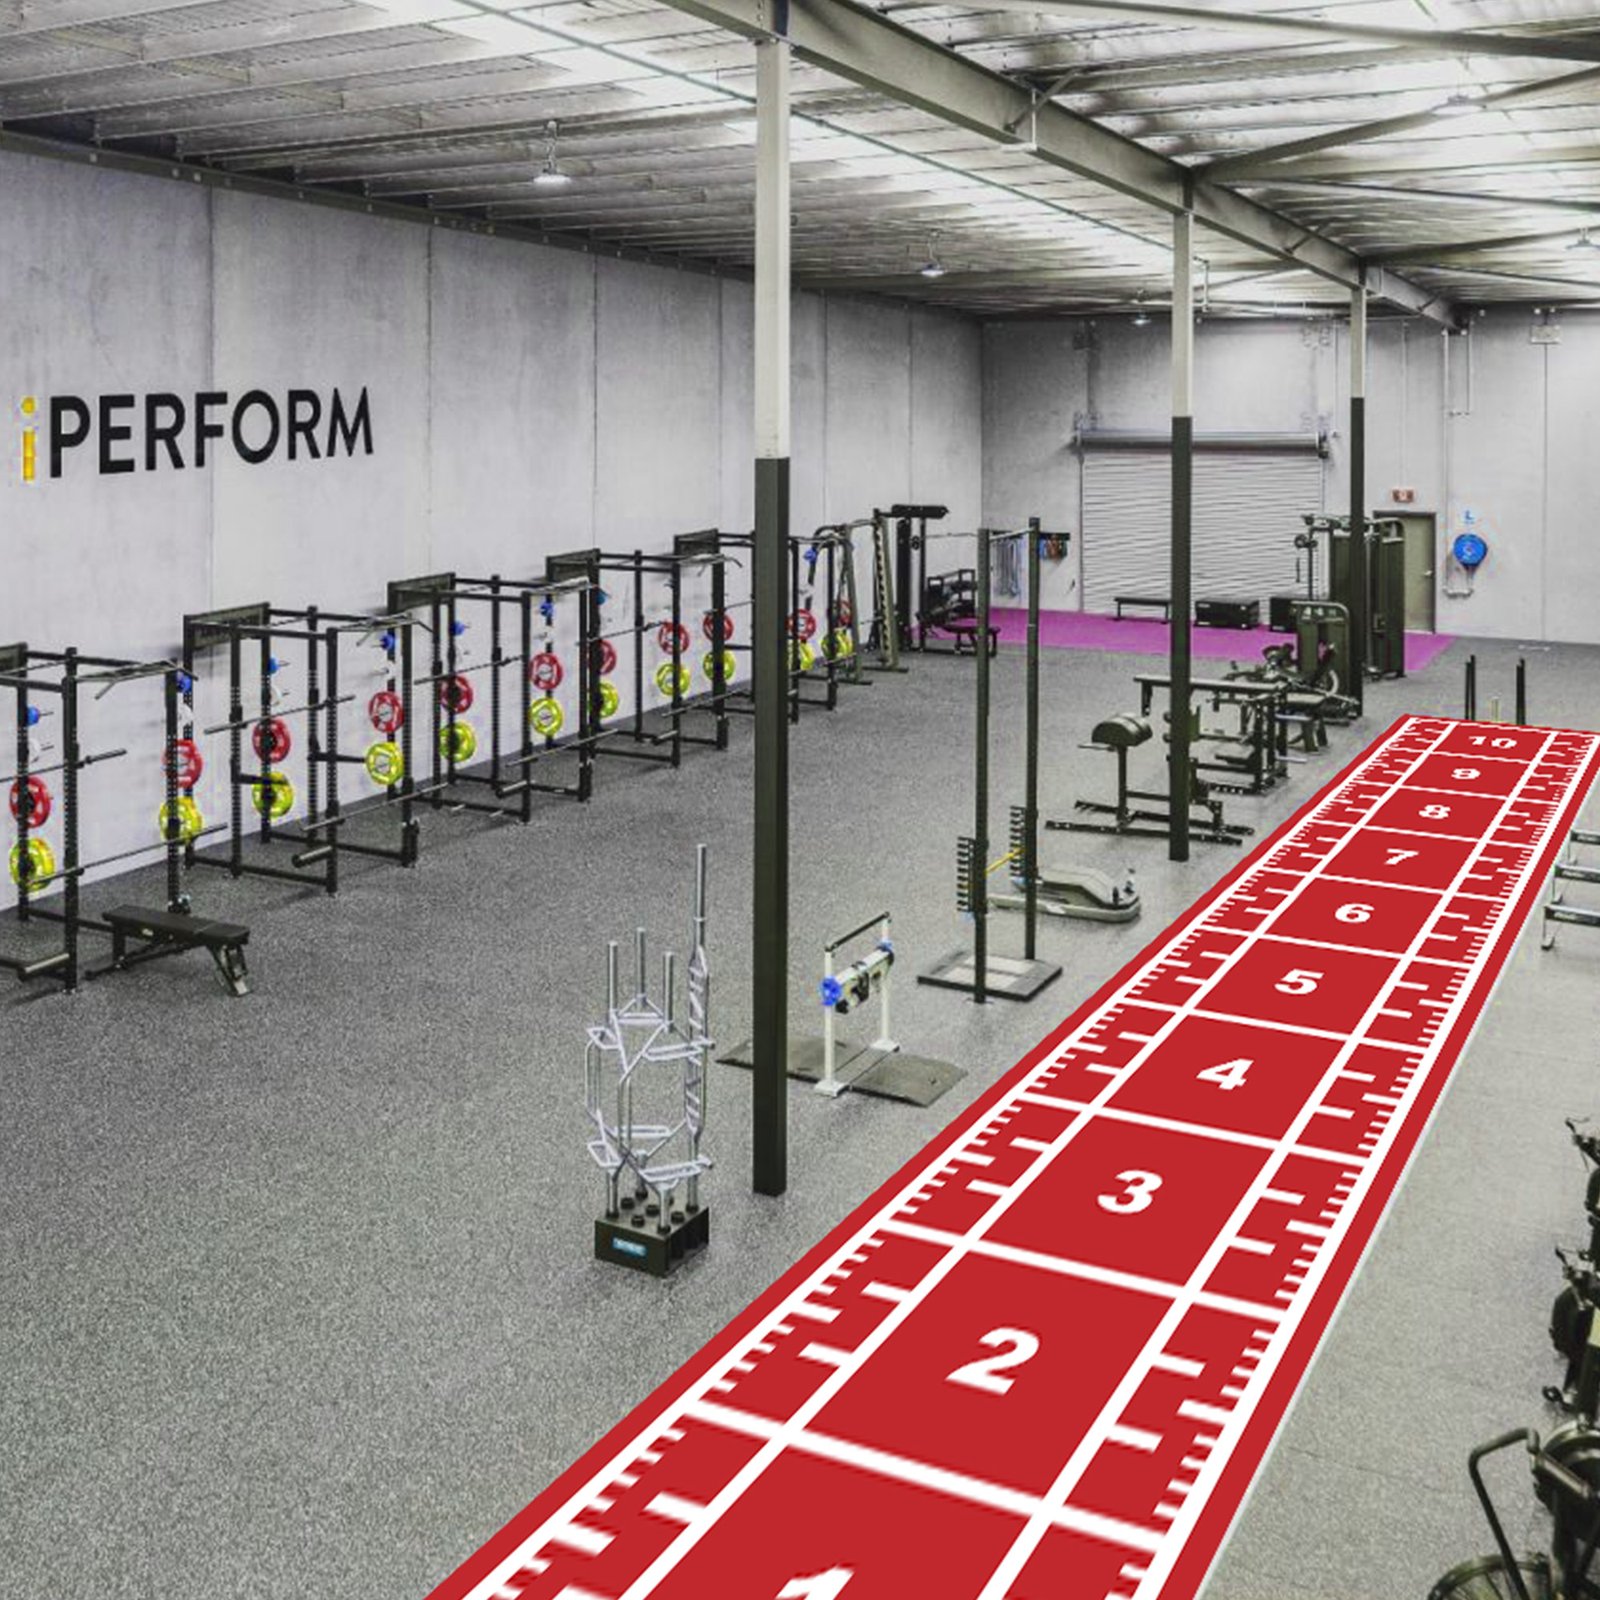
- Branding: Use custom gym turf with logo, yard lines, or directional arrows for visual impact
3.Prepare the Subfloor Surface
Proper subfloor preparation for turf is essential. The most common base for installing gym turf over concrete is a clean, level slab.
(1)Pre-installation checklist:

- Ensure the concrete or epoxy floor is clean, dry, and free of debris
- Fill in any cracks or uneven spots
- Vacuum or sweep thoroughly before laying any material
This foundation supports proper adhesion and ensures the turf sits evenly with no soft spots or bubbles.
4.Dry Lay and Measurement
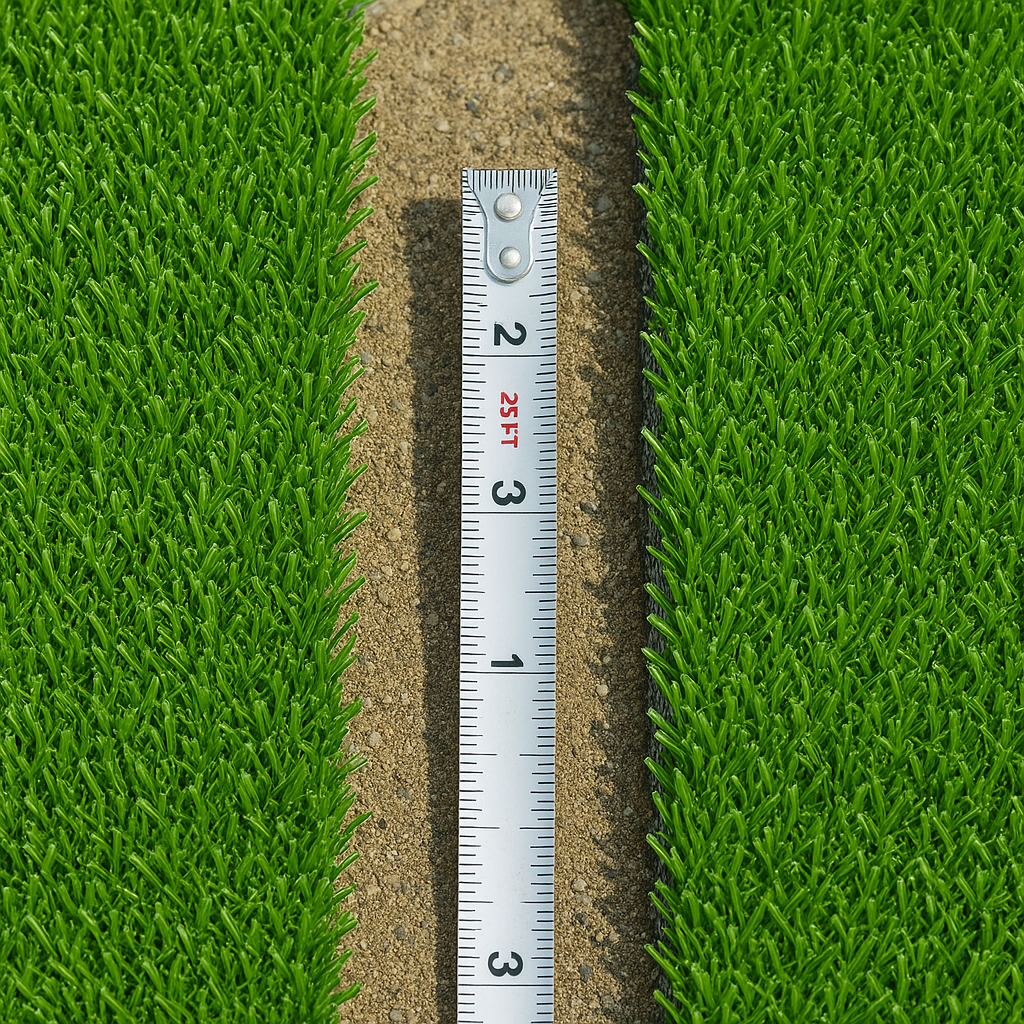
Once your turf arrives, perform a dry layout before committing to glue or tape.
(1)Pro tips:
- Unroll the turf and let it acclimate for 24 hours
- Align the turf grain direction (pile direction) uniformly
- Use chalk to mark cutting zones and turf seam lines
- Leave a few extra inches around the edges for precise trimming
This step is especially important when working with custom-branded turf or roll-out turf sections in home gyms.
5.Cutting and Seam Alignment
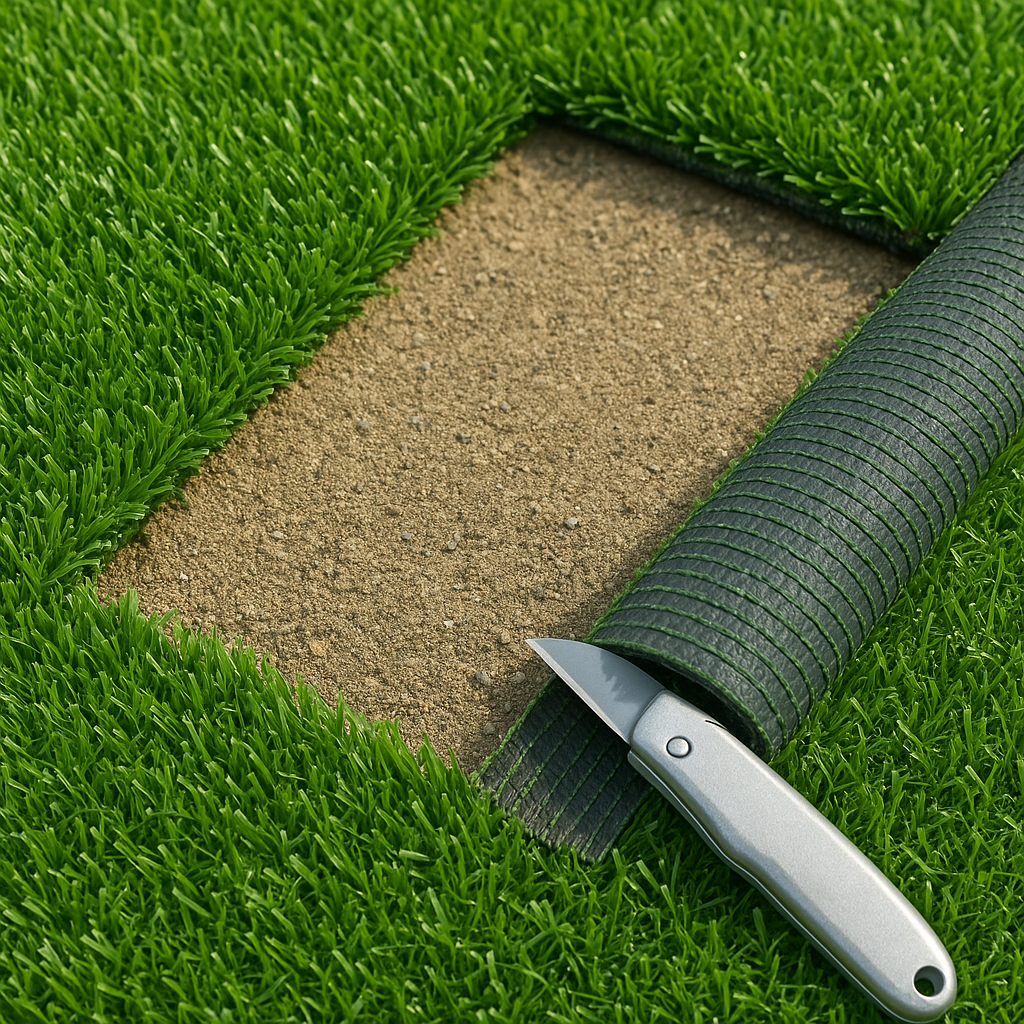
Use a sharp utility knife to cut turf panels precisely. To achieve flawless turf seam alignment:
- Slightly overlap two panels
- Cut both simultaneously using a straight edge
- Peel away excess and use seam tape to bond the edges
Proper alignment ensures that seams remain flat, invisible, and safe during high-impact movements like sled pushes or battle rope drills.
6.Apply Adhesive or Turf Tape
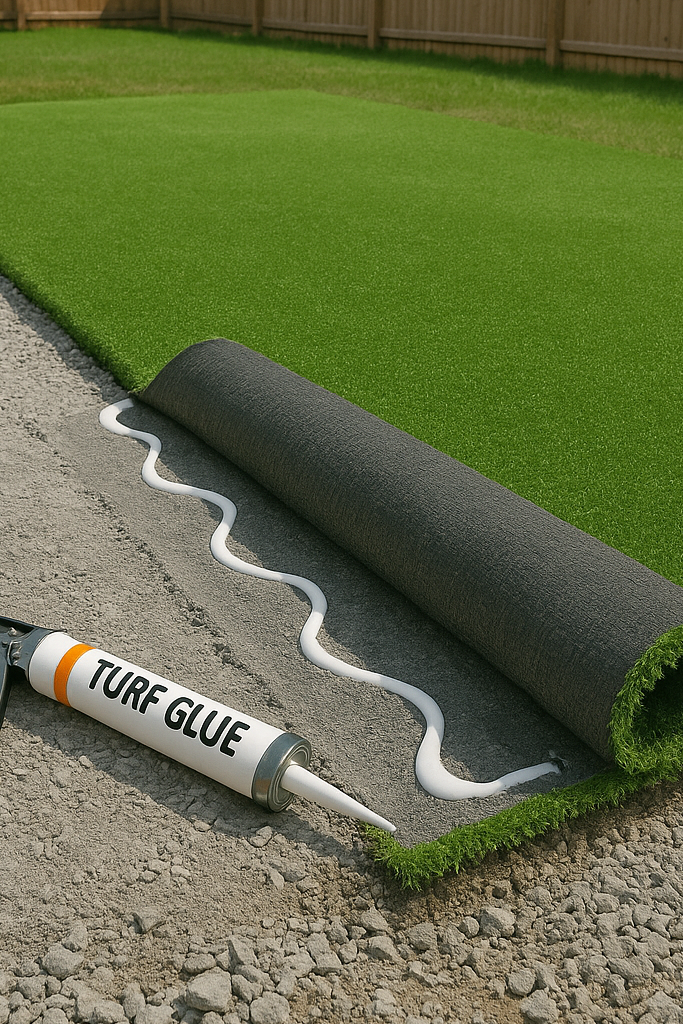
Now it’s time to fix the turf in place. Depending on your layout, you can use:
- Turf installation glue (PU-based adhesive applied with a trowel)
- Double-sided turf tape (ideal for small areas or temporary installs)
For permanent setups, glue down the gym turf in strips and immediately press the turf into place using a weighted roller or sandbags.
7.Press, Fix, and Trim Edges
ce bonded, use a flooring roller or press down the entire area to ensure even contact.
- Trim edges with precision
- Secure corners and high-traffic areas with additional adhesive
- Let glue cure for at least 24 hours before heavy use or sled workouts
This ensures the gym turf remains stable and prevents edge lift during use.
8.Final Inspection & Maintenance Tips
Before your turf sees action, do a thorough check for:
- Seam gaps or loose spots
- Glue residue or visible bubbles
- Proper alignment and trimming
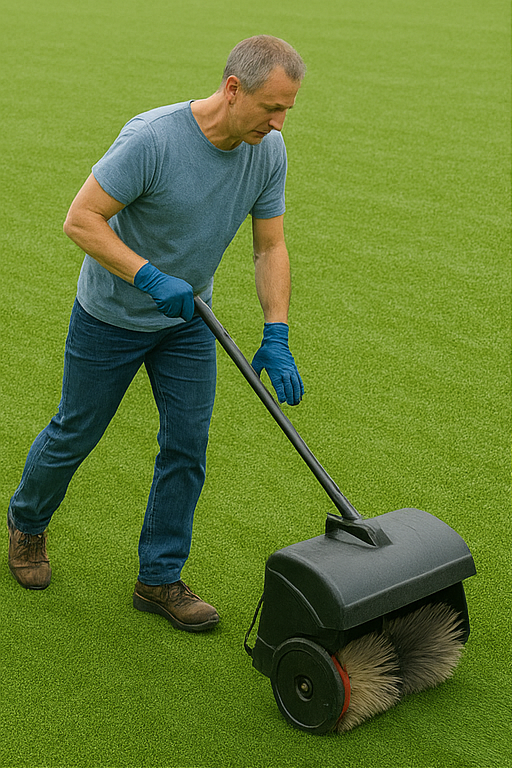
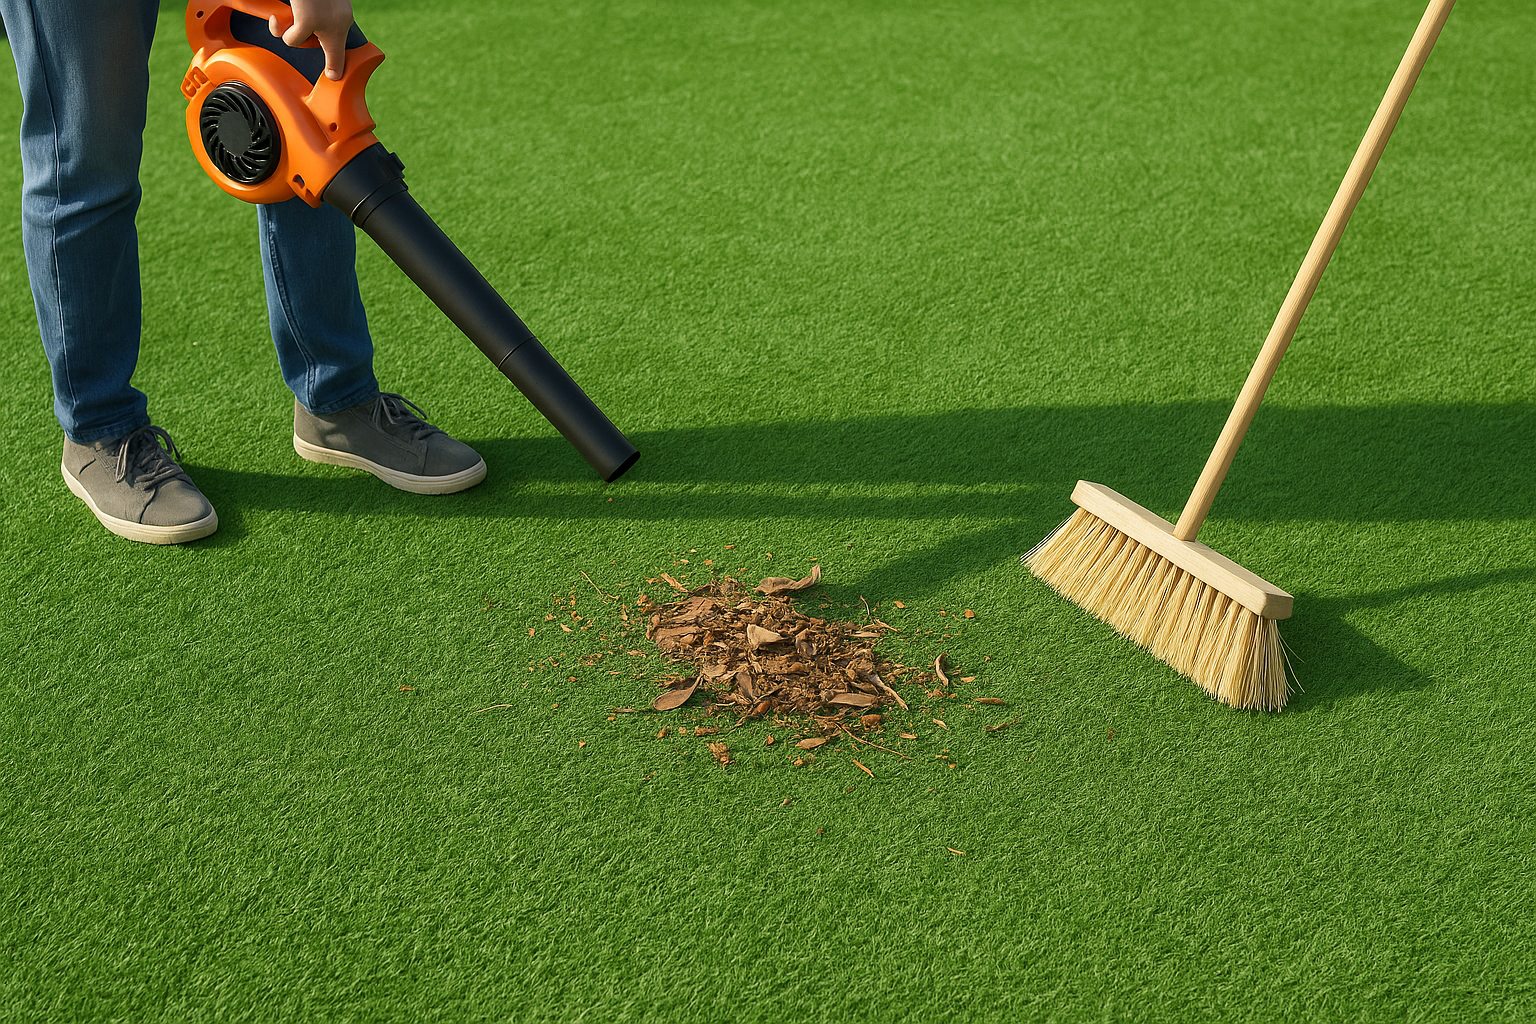
9.Indoor Turf Maintenance Tips:
- Vacuum regularly to remove dust, chalk, and sweat
- Use a stiff-bristle brush to lift flattened fibers
- Clean with mild detergent and water for odor and bacteria control
Proper turf maintenance extends product lifespan and keeps your training space clean and professional.
10.Conclusion: Build a High-Performance Turf Training Space
Mastering the process of how to install indoor gym turf gives you a cleaner, safer, and more durable surface for functional fitness. Whether you’re setting up turf for CrossFit, sled pushes, or a compact home gym, careful attention to installation details will deliver pro-level results.