Skip to content
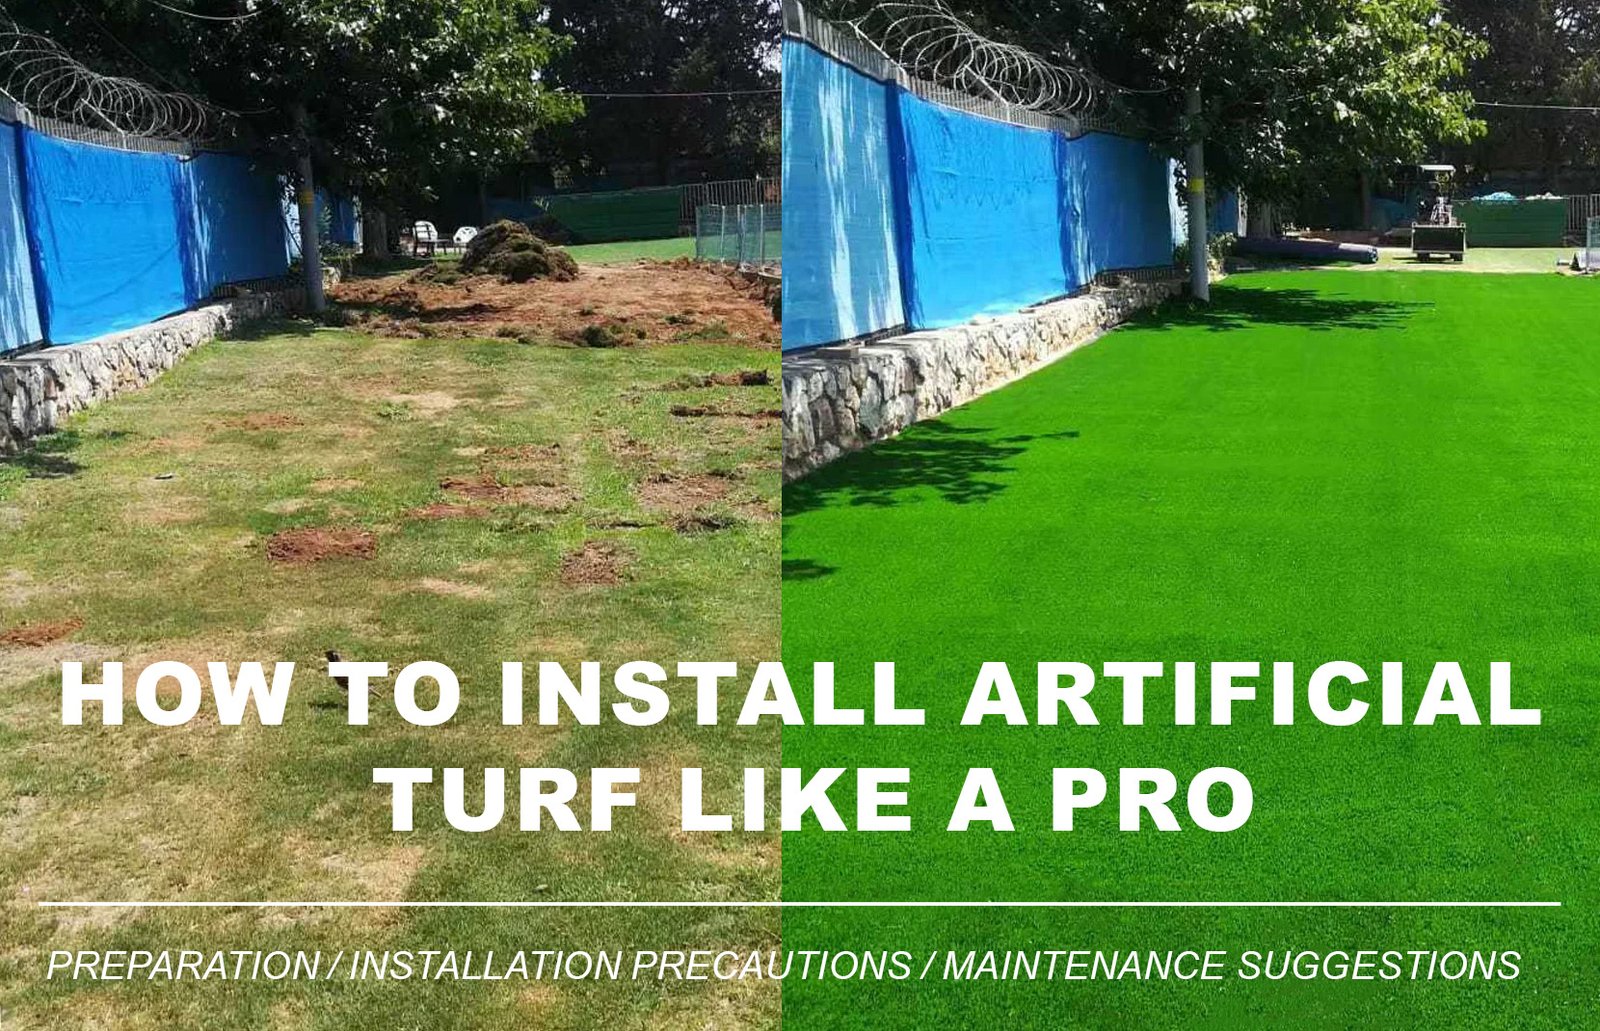
1. Introduction: Why DIY Artificial Turf Installation Is Worth It
Artificial turf is increasingly popular for homes and commercial spaces due to its low maintenance, natural look, and long service life. Fortunately, installing it yourself is easier than you think. With the right steps and tools, you can achieve professional-grade results.
2.Preparation: Materials and Tools Checklist
Before you get started, here’s what you’ll need:
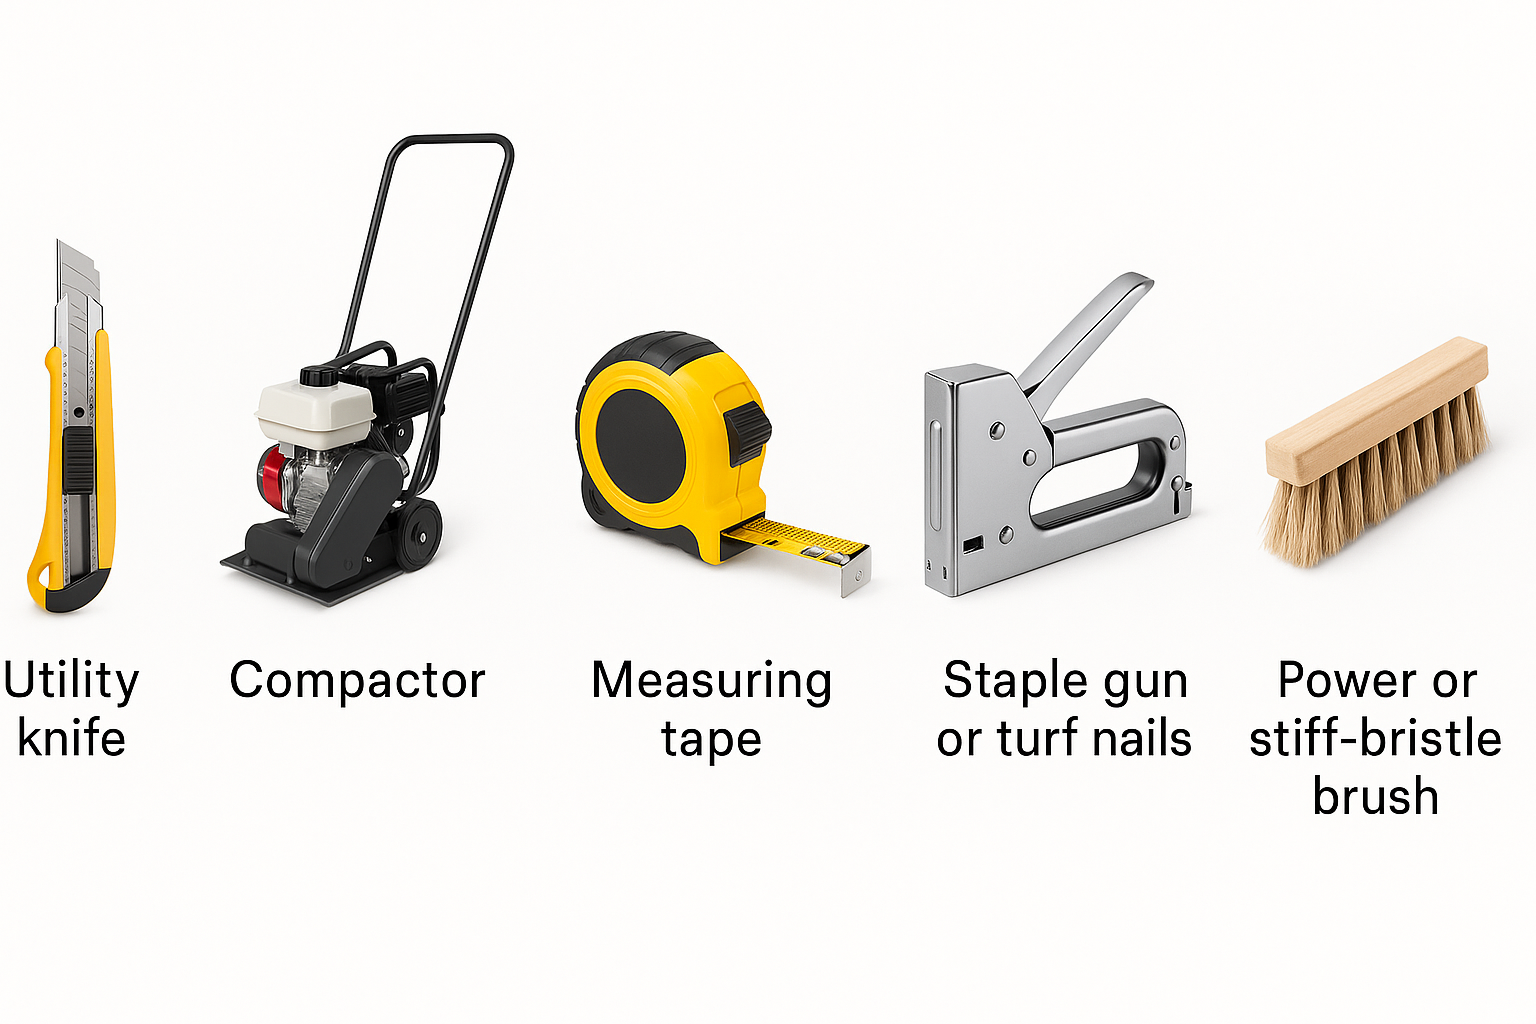
Tools:
– Utility knife
– Compactor
– Measuring tape
– Staple gun or turf nails
– Power or stiff-bristle brush
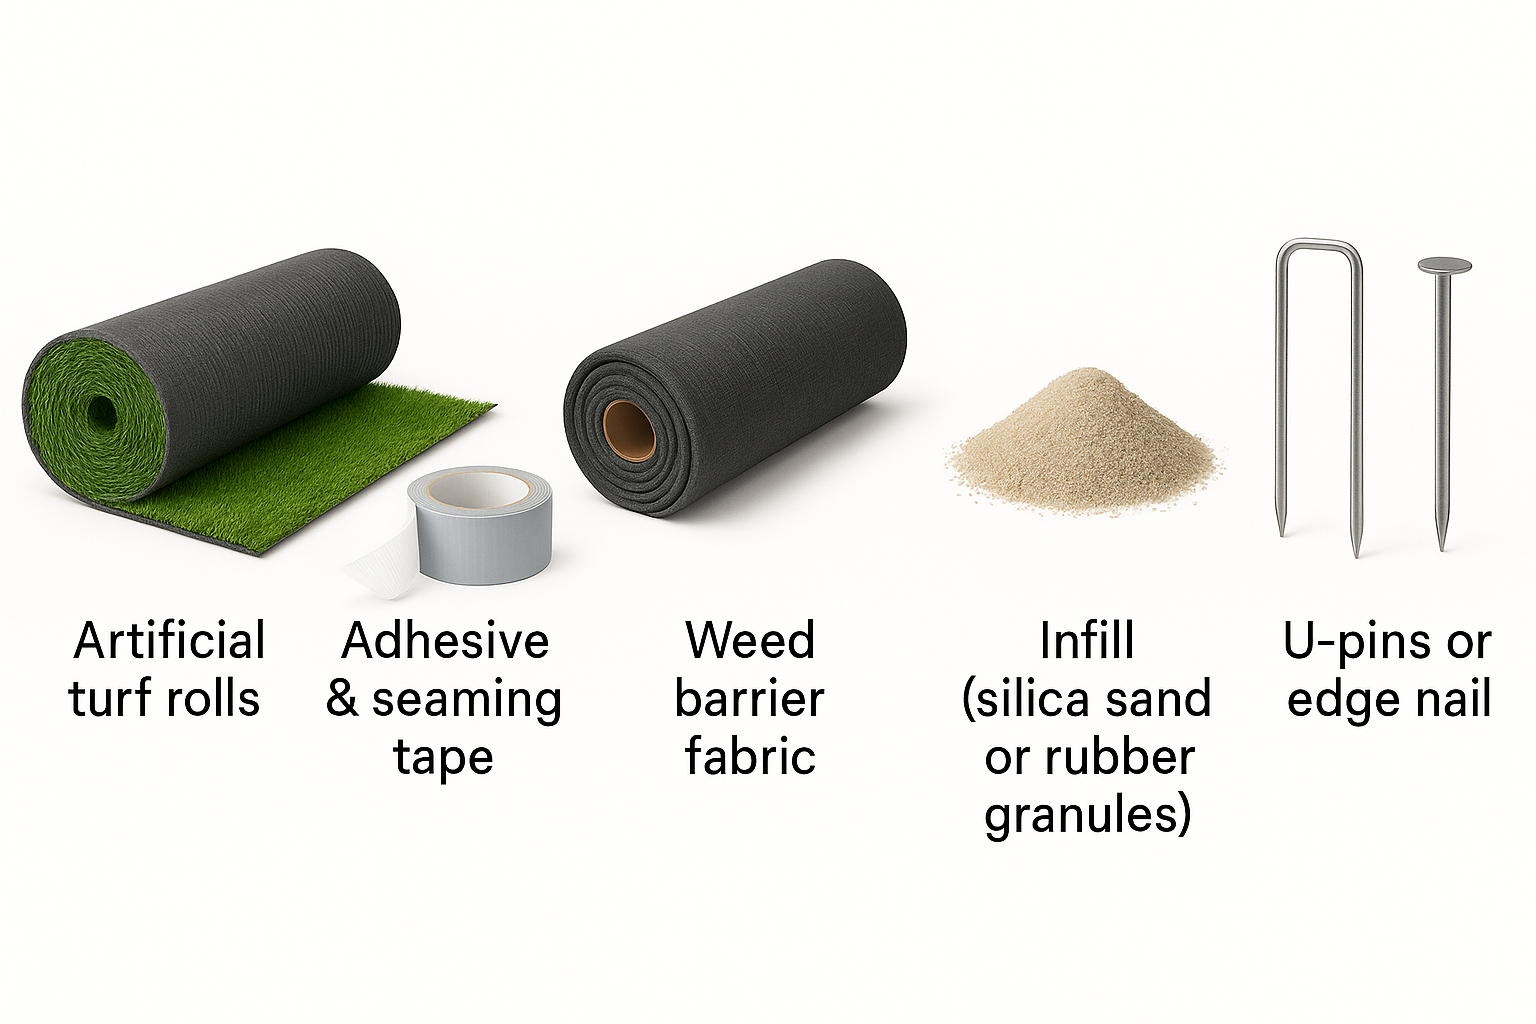
Materials:
– Artificial turf rolls
– Adhesive & seaming tape
– Weed barrier fabric
– Infill (silica sand or rubber granules)
– U-pins or edge nail
Tip: Always calculate total area and add 5% extra for trimming and waste.
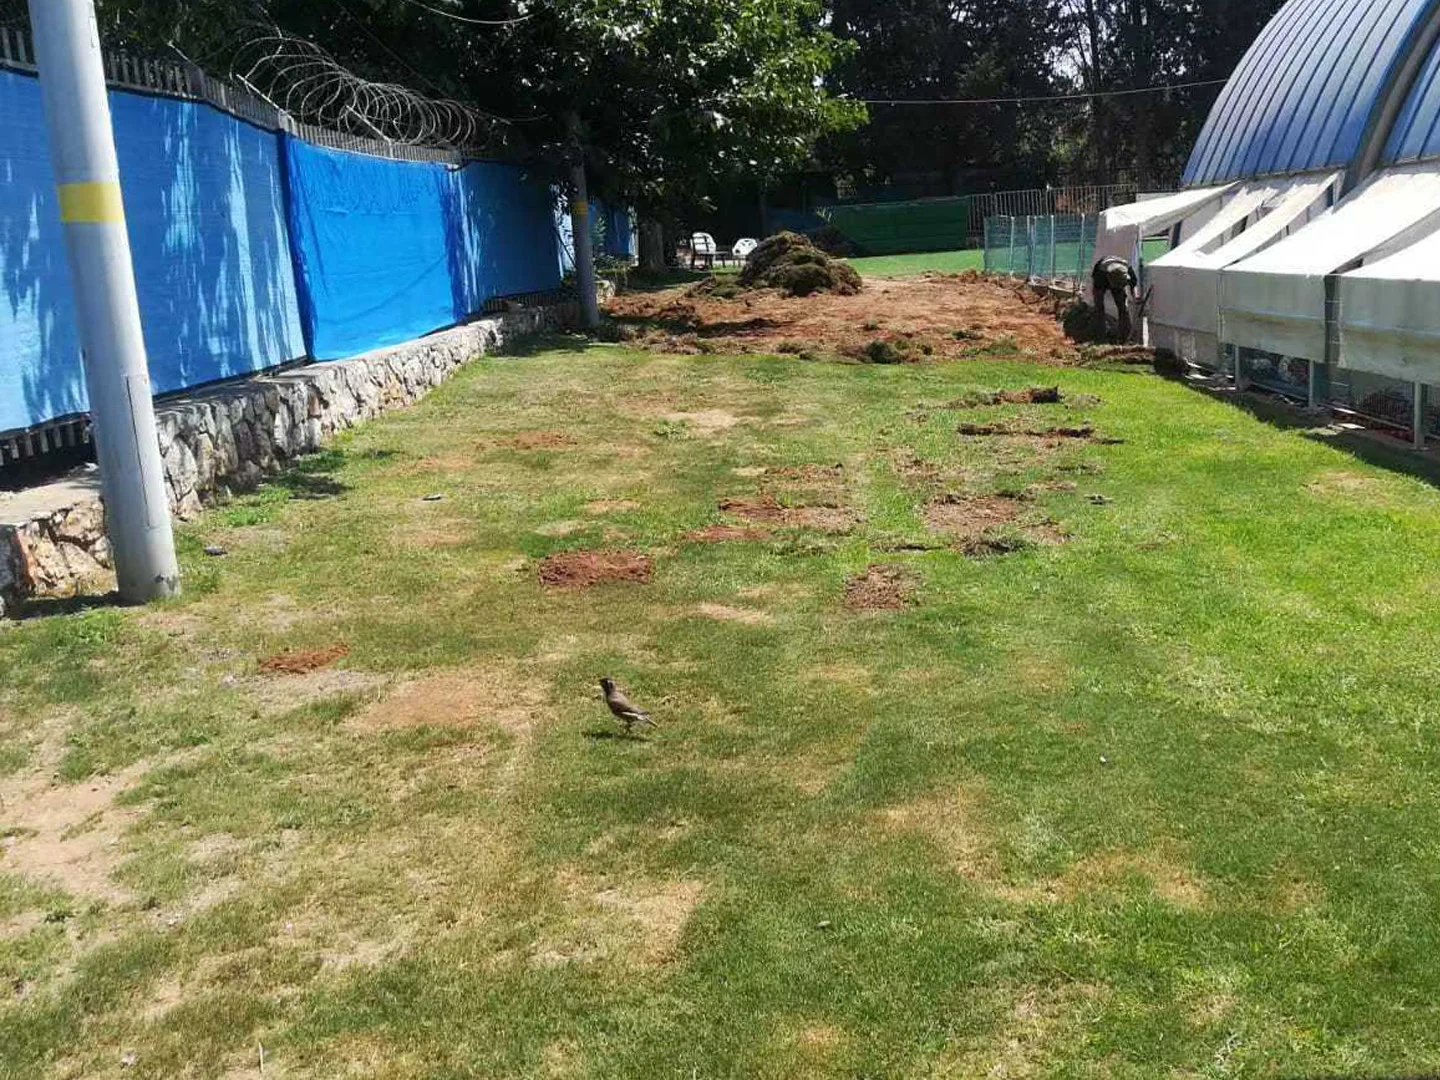
3. Ground Preparation Based on Surface Type
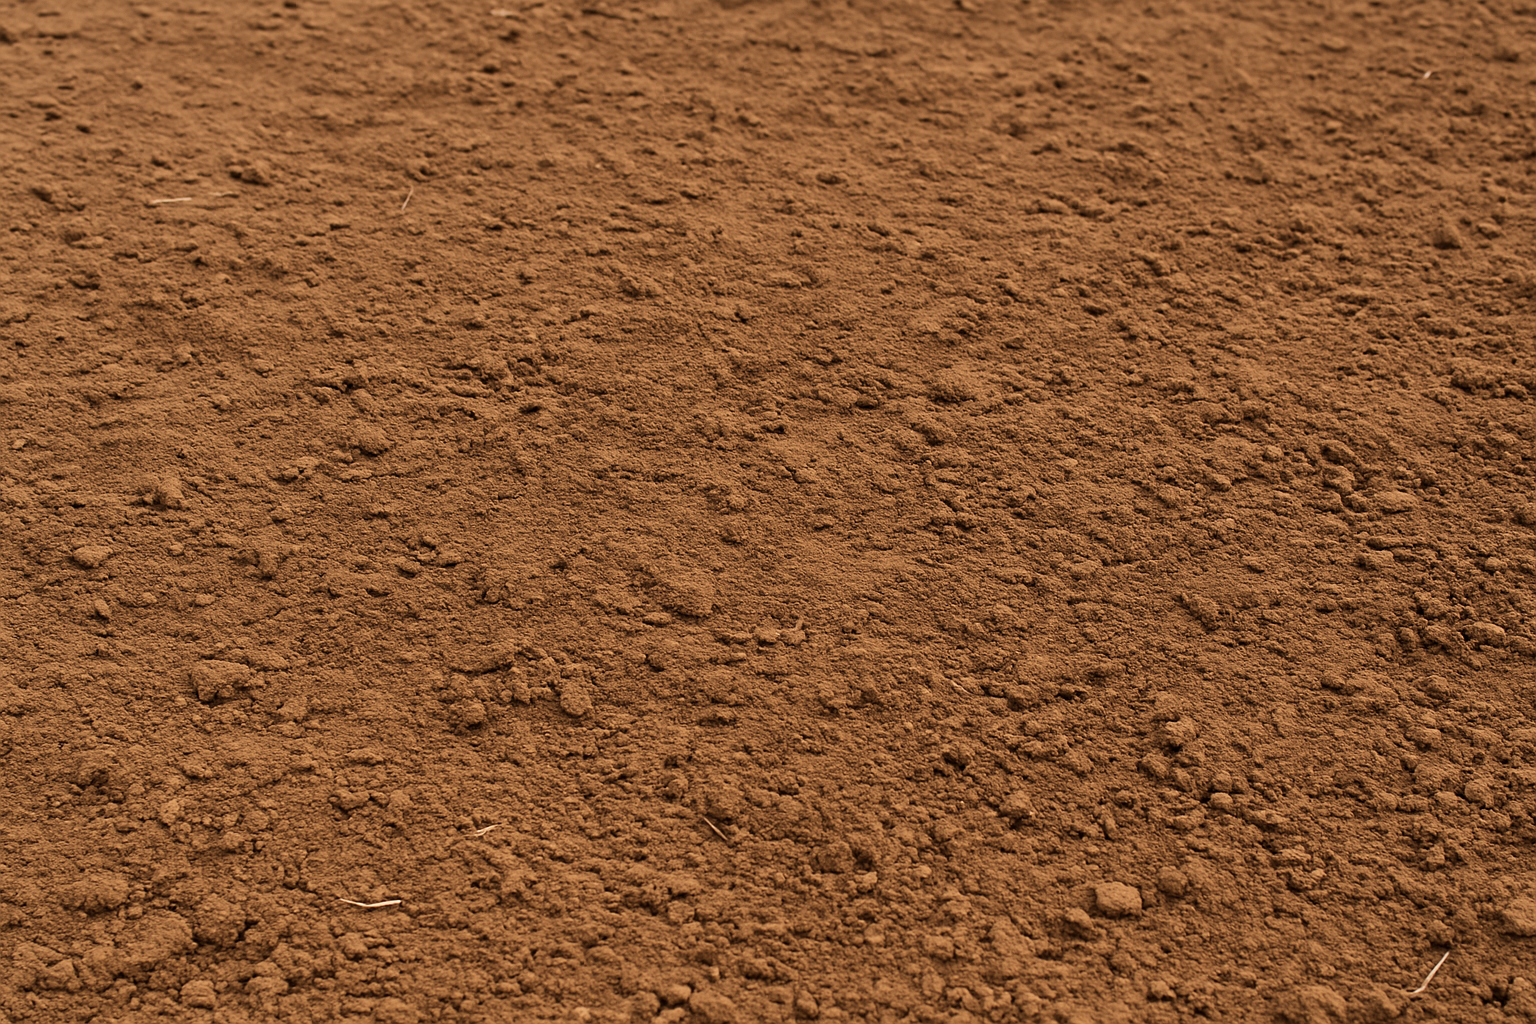
Soil:
– Remove weeds, roots
– Add and level 5–10 cm of crushed stone
– Compact the base thoroughly
– Lay down weed barrier
Concrete:
– Clean and level the surface
– Drill drainage holes if needed
– Use turf adhesive to glue turf to surface
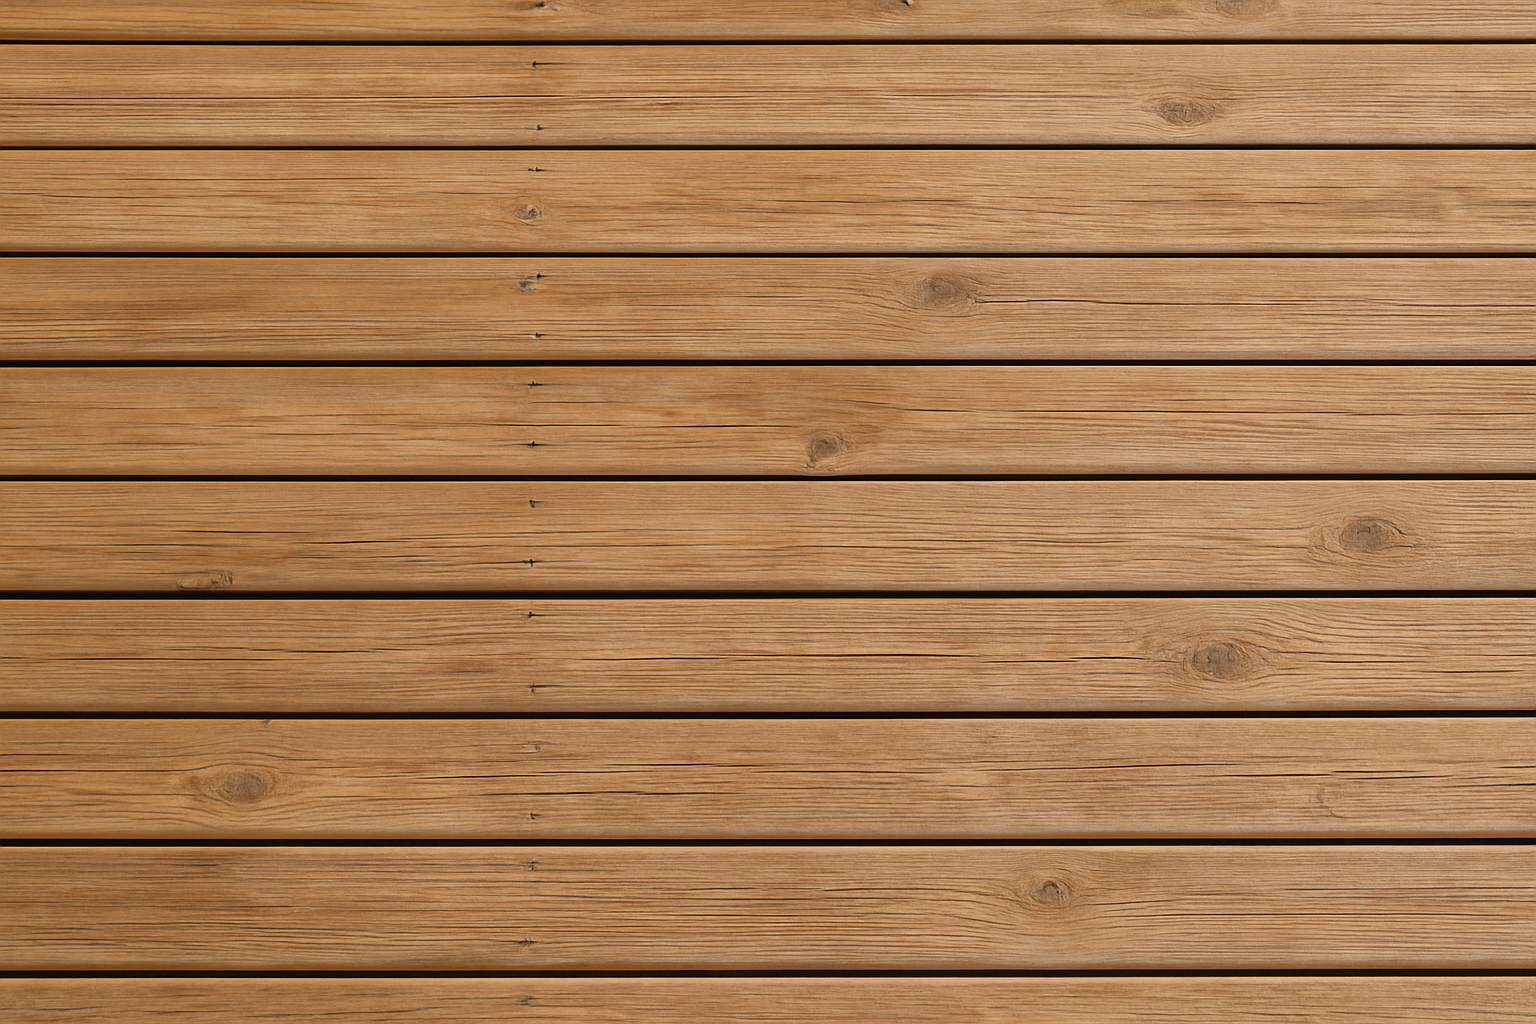
Decking:
– Ensure waterproofing and anti-slip surface
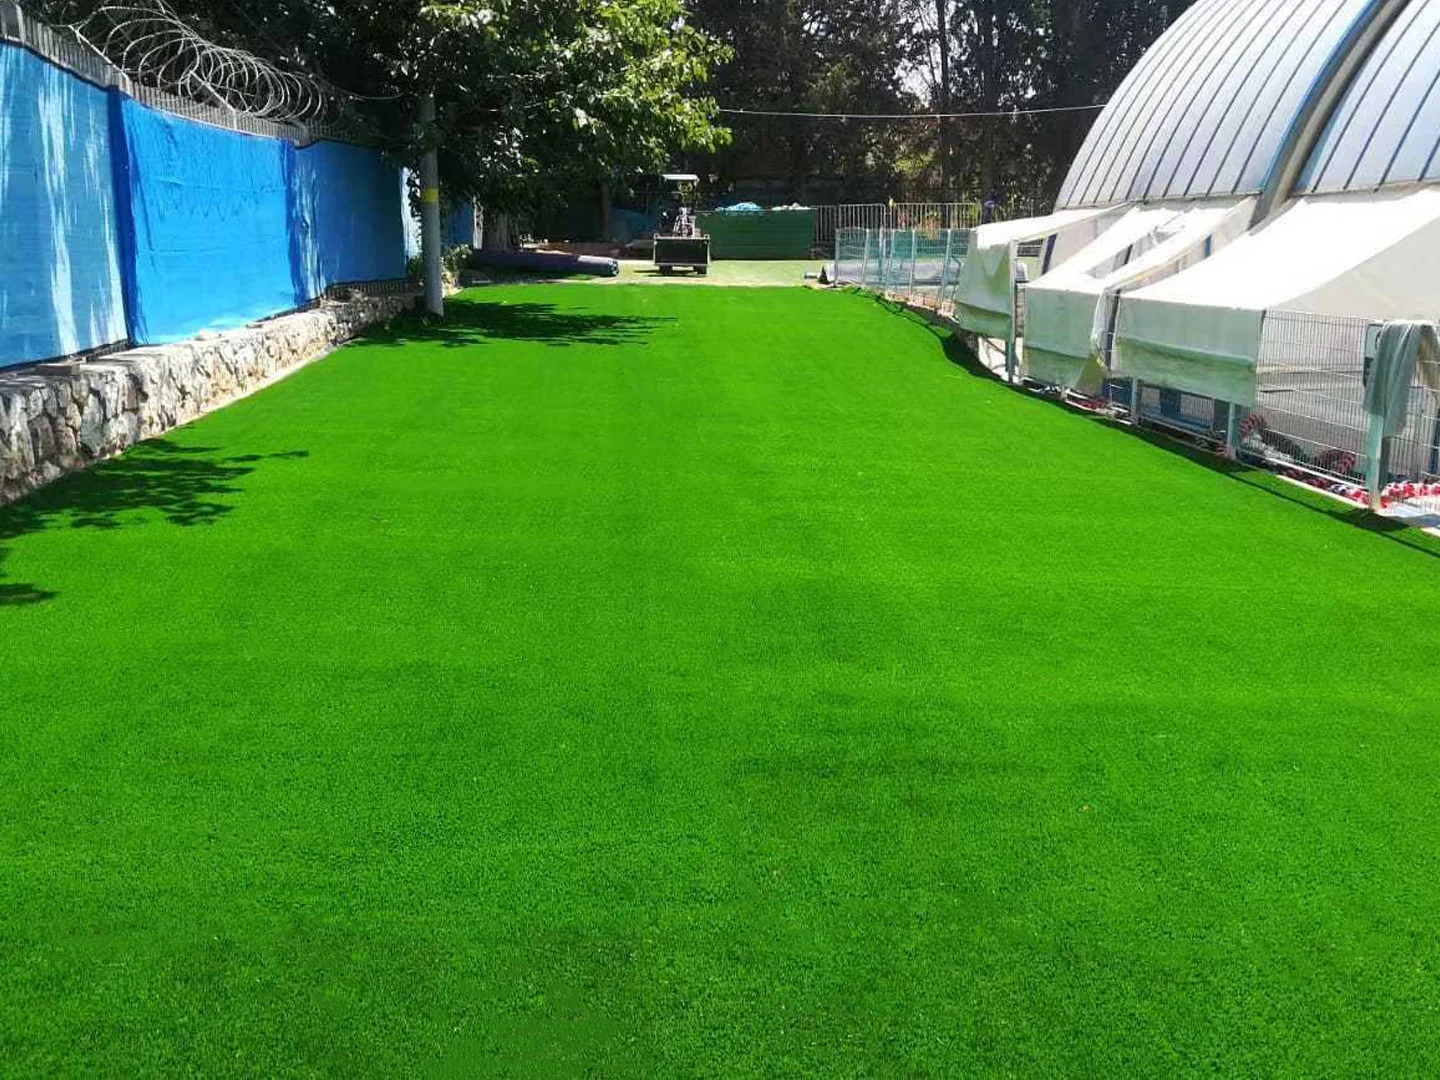
4. Step-by-Step Turf Installation Process
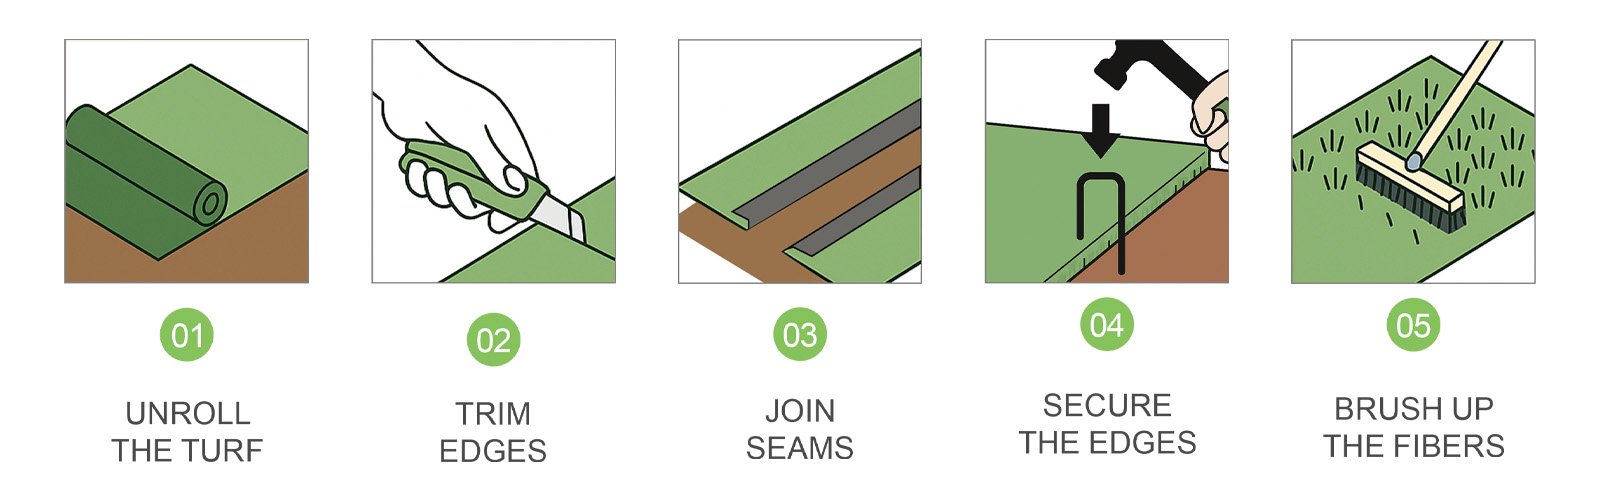
1. Unroll the turf: Let it sit for 1–2 hours to release curls
2. Trim edges: Cut to fit the area accurately
3. Join seams: Align turf grain direction, apply seaming tape and adhesive
4. Secure the edges: Use turf nails or U-pins every 15–30 cm
5. Brush up the fibers: Use a stiff brush to lift the blades and hide seams
5. Tips for Installing on Slopes and Irregular Areas
– On slopes, lay turf across the slope and increase pin density to prevent slippage
– For curves or around obstacles like trees, cut from the back for better control
– Use flexible seaming tape for rounded edges
6.Drainage Design Recommendations
Even though turf has drainage holes, the ground below needs proper grading.
– Turf has built-in drainage holes, but the ground needs proper drainage too
– Recommended base: crushed stone + permeable membrane + weed barrier
– For low-lying areas, design a 1–2% slope to guide water toward drainage points
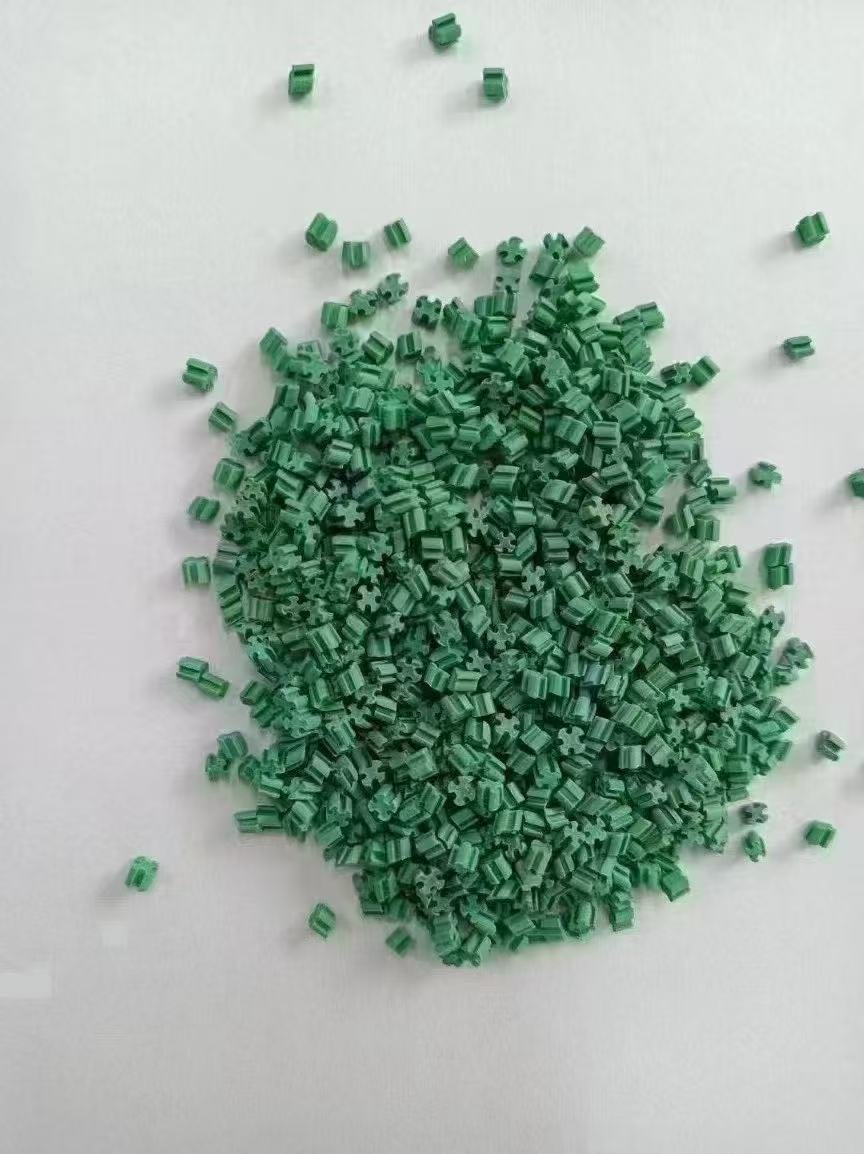
7.Do You Need Infill? How to Apply It
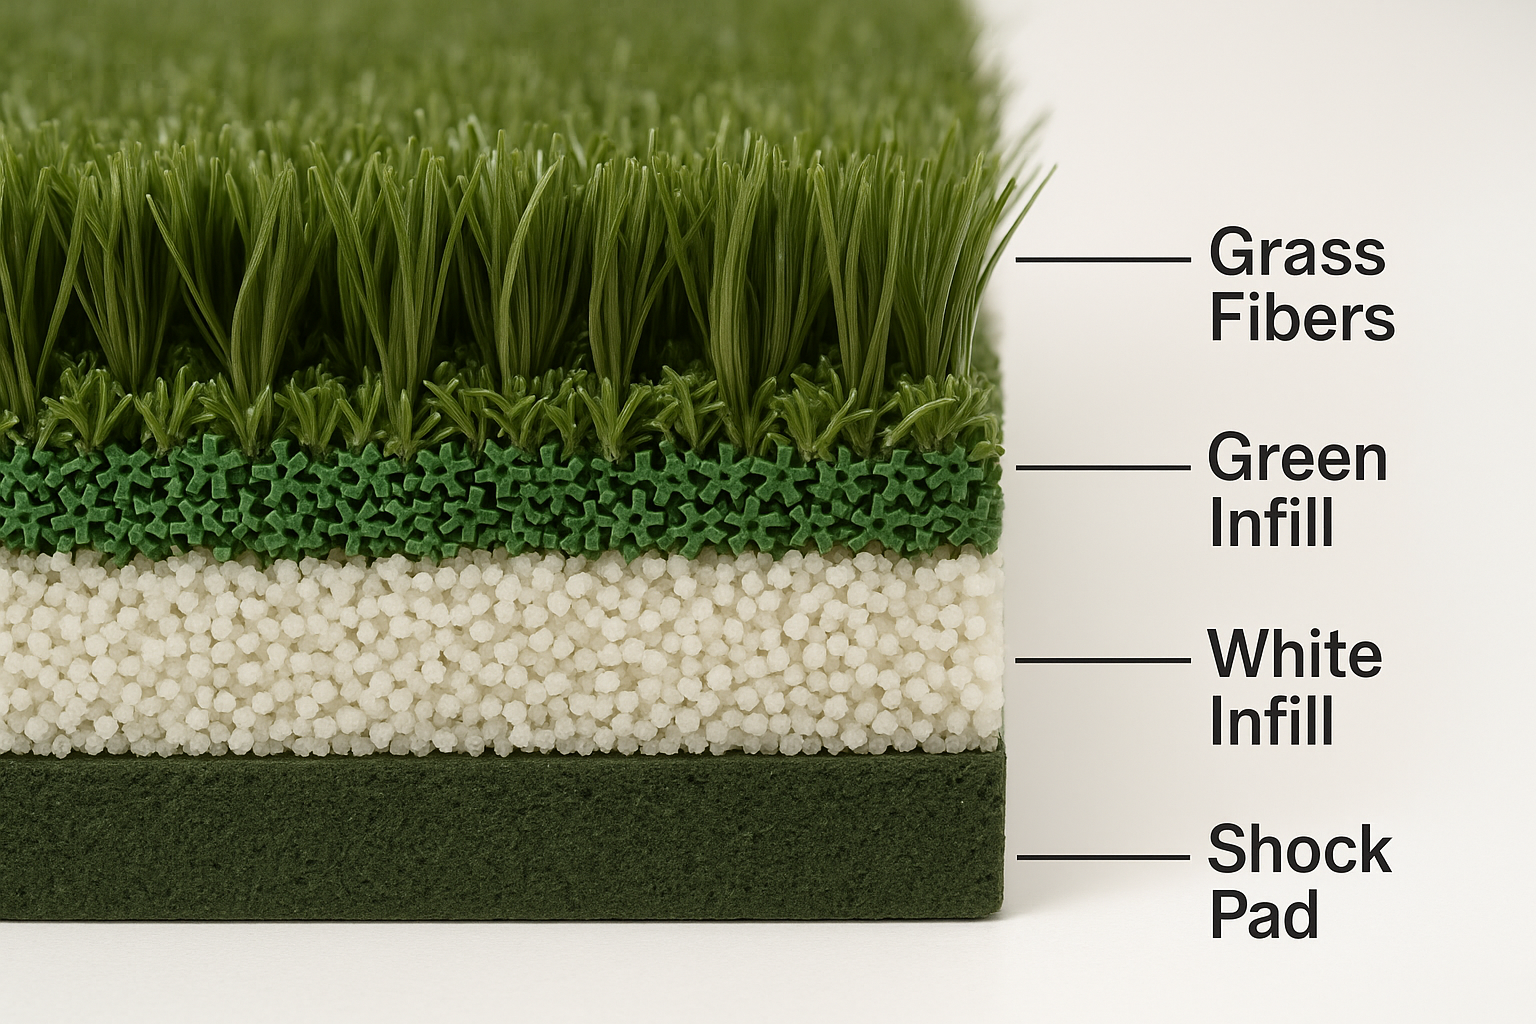
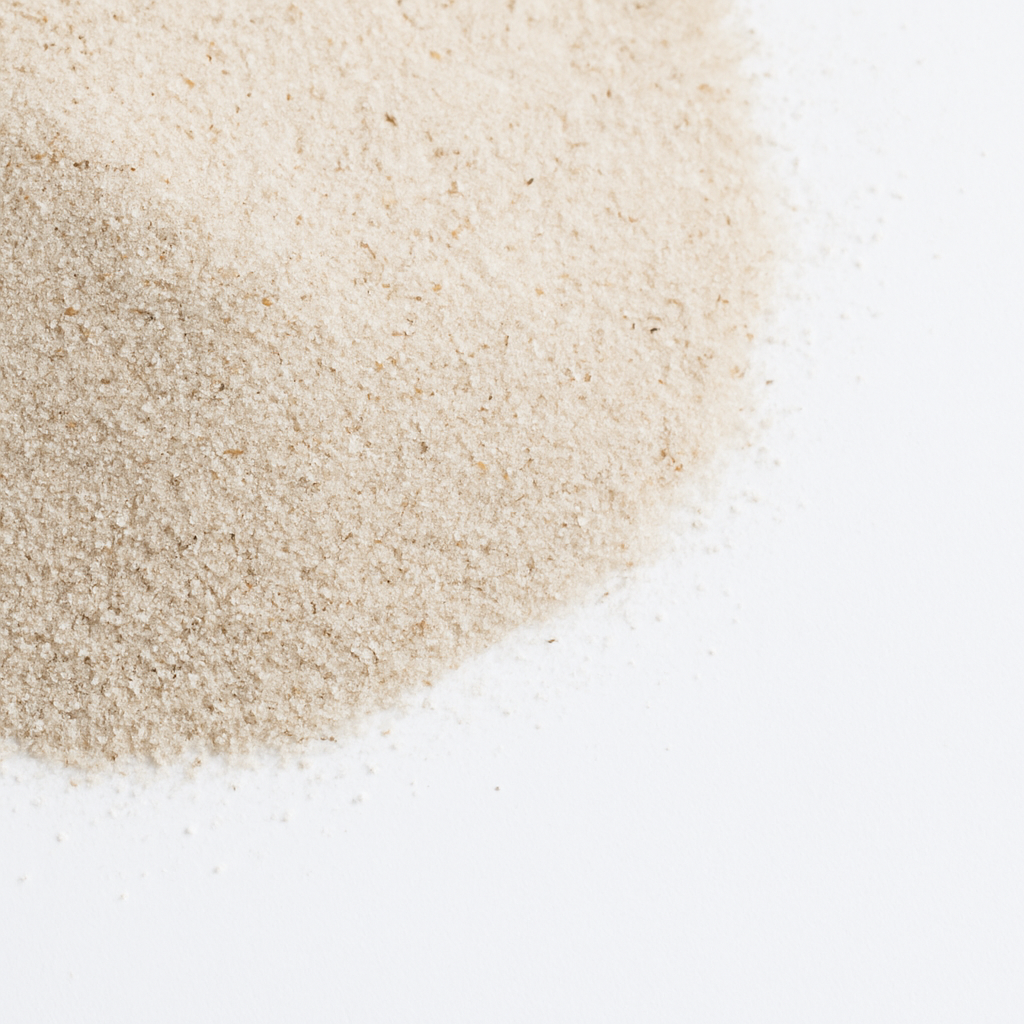

Infill helps the turf stand upright, improves feel underfoot, and keeps the surface cool.
– Purpose: stabilize turf blades, improve foot feel, prevent wrinkles
– Common infill: silica sand or eco-friendly rubber granules
– After spreading, brush evenly into the turf fibers
– Recommended quantity: 8–12kg/m² depending on turf type
8. Common Installation Mistakes to Avoid
1. Inconsistent turf fiber direction → causes color mismatch
2. Applying pressure before glue dries → causes seam failure
3. Poorly compacted base → results in bumpy surface
4. Ignoring drainage → leads to puddles and odor
Knowing what not to do is just as important as getting the steps right.
9. Post-Installation Check & Maintenance
– Inspect seams and edges for secure attachment
– Lightly water the turf to help settle it into place
– Brush regularly to keep turf upright and clean
– Avoid placing heavy furniture directly; for dents, use heat (hair dryer) to soften and recover
10. Installation Advice by Scenario
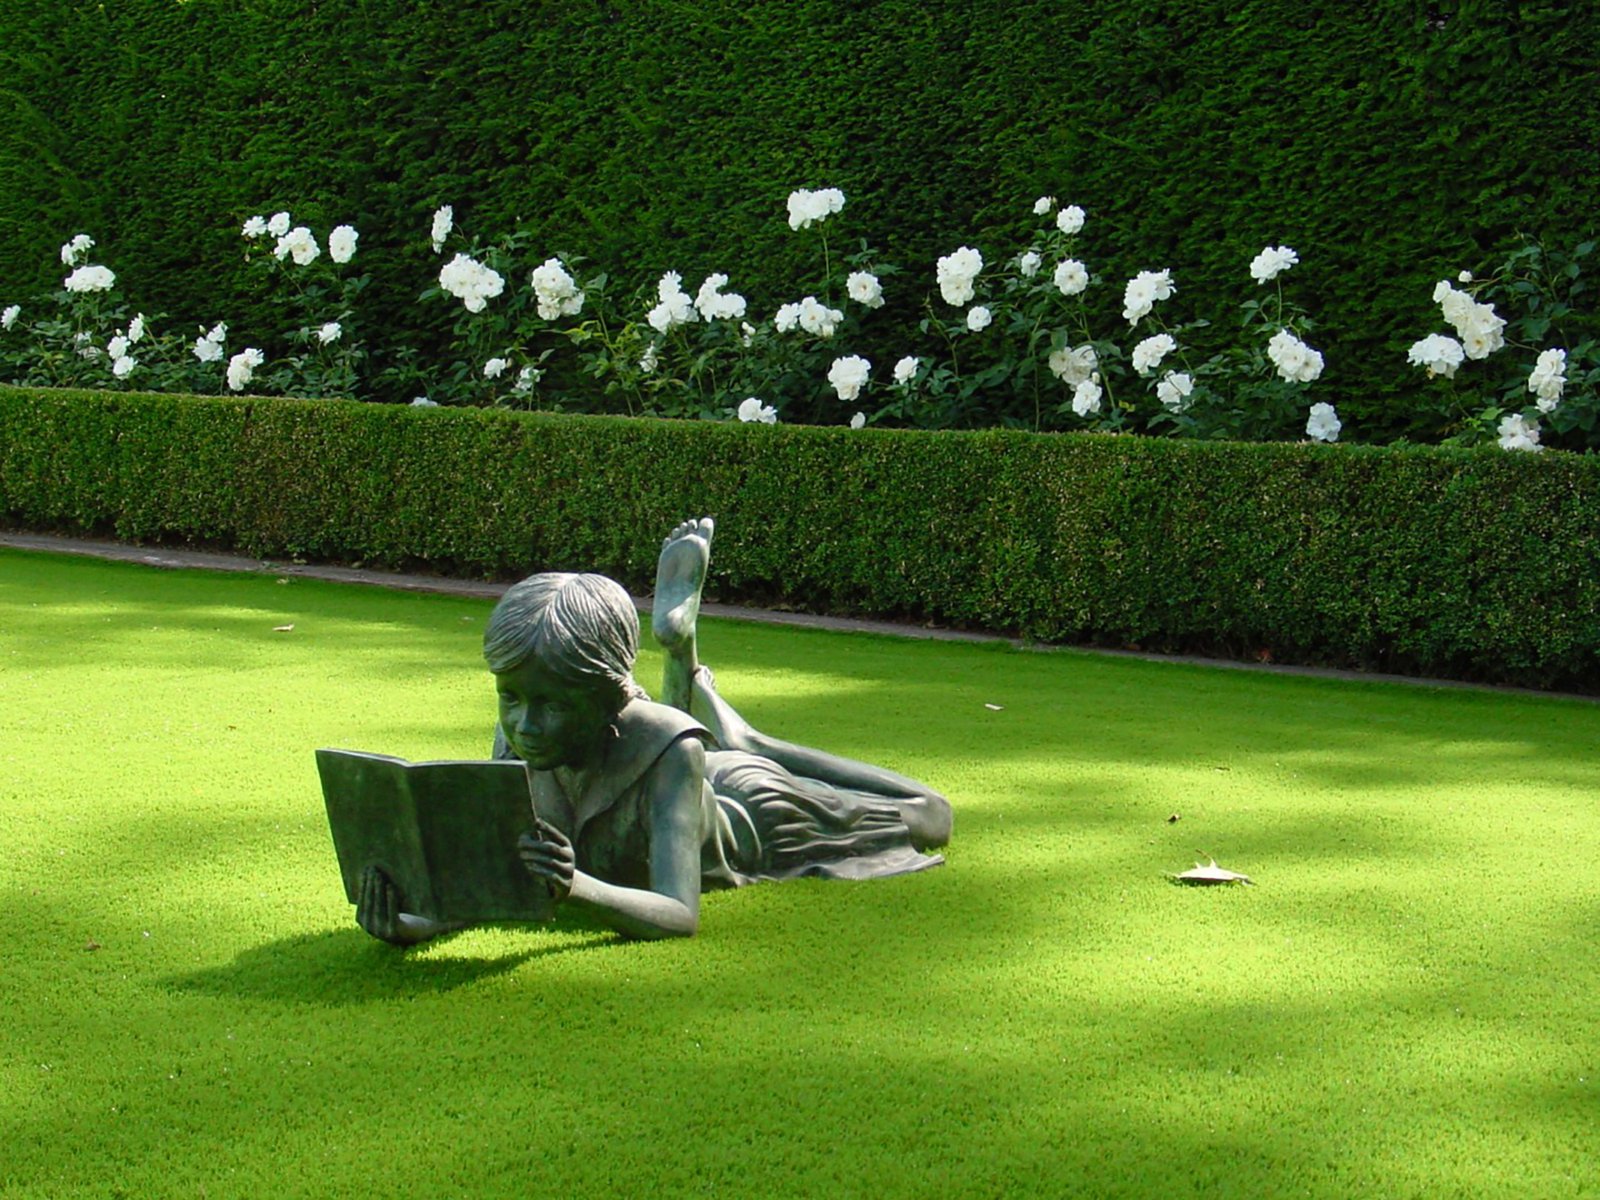
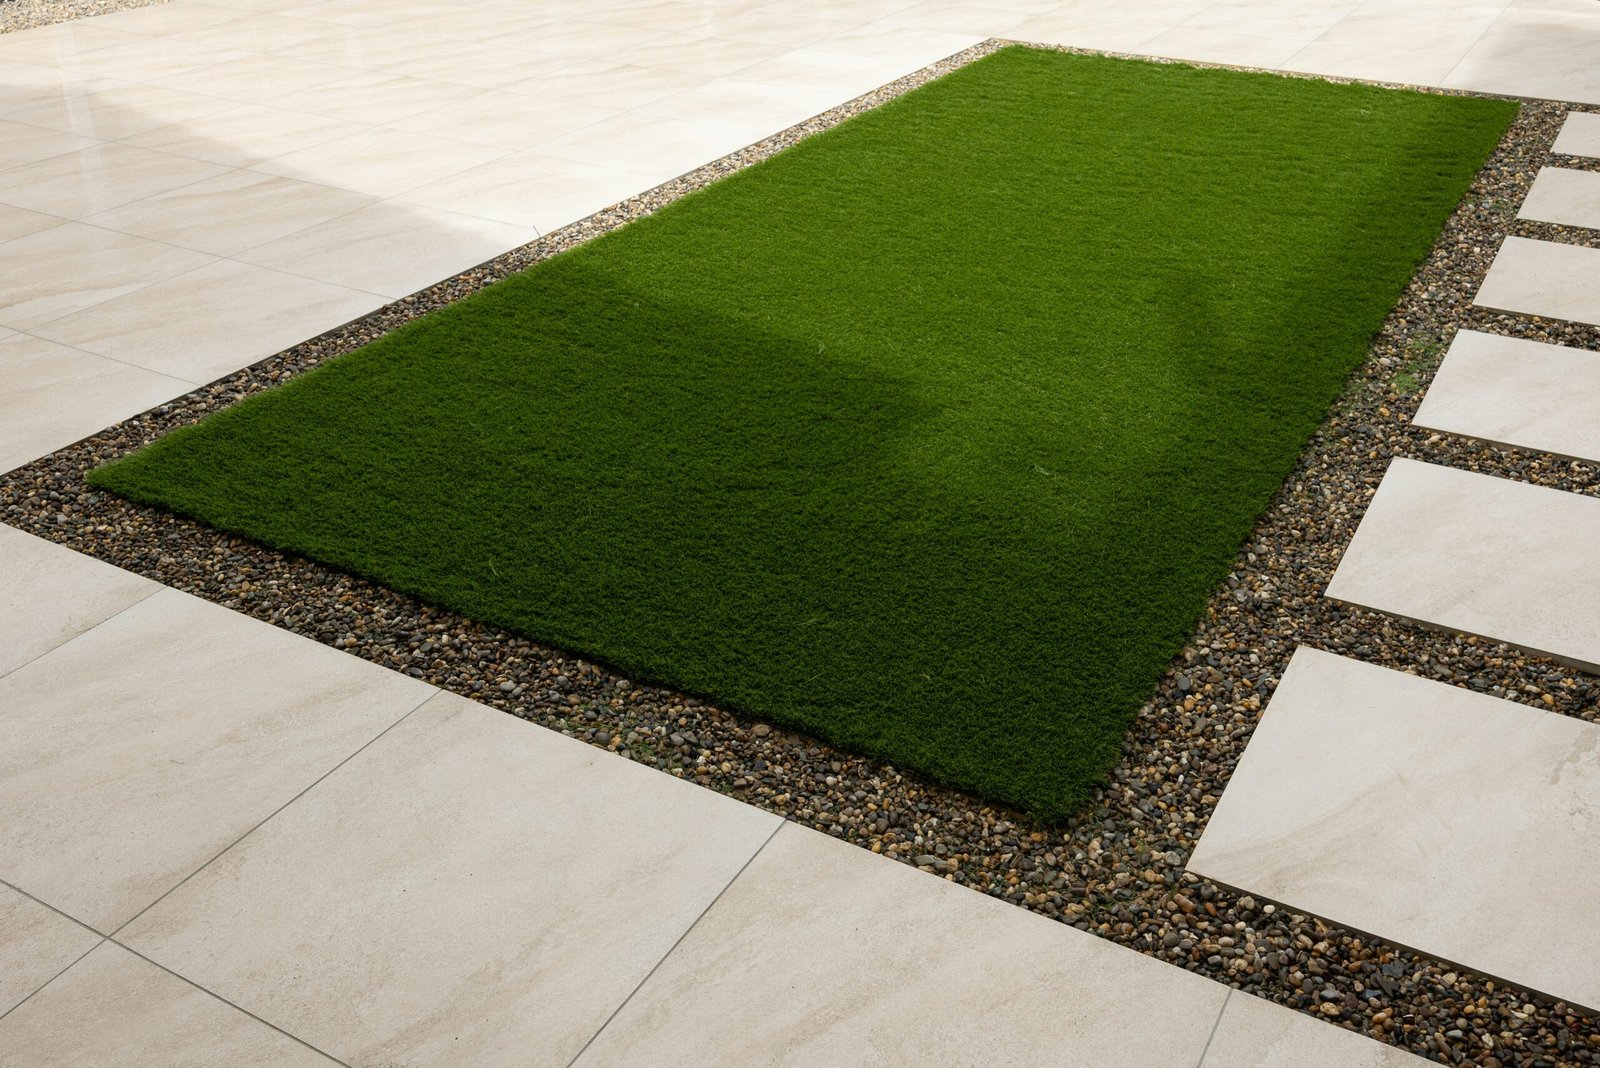
Garden lawns: Choose mid-length, natural-looking turf
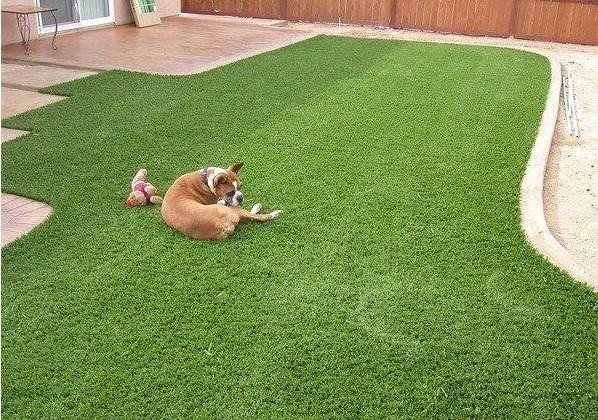
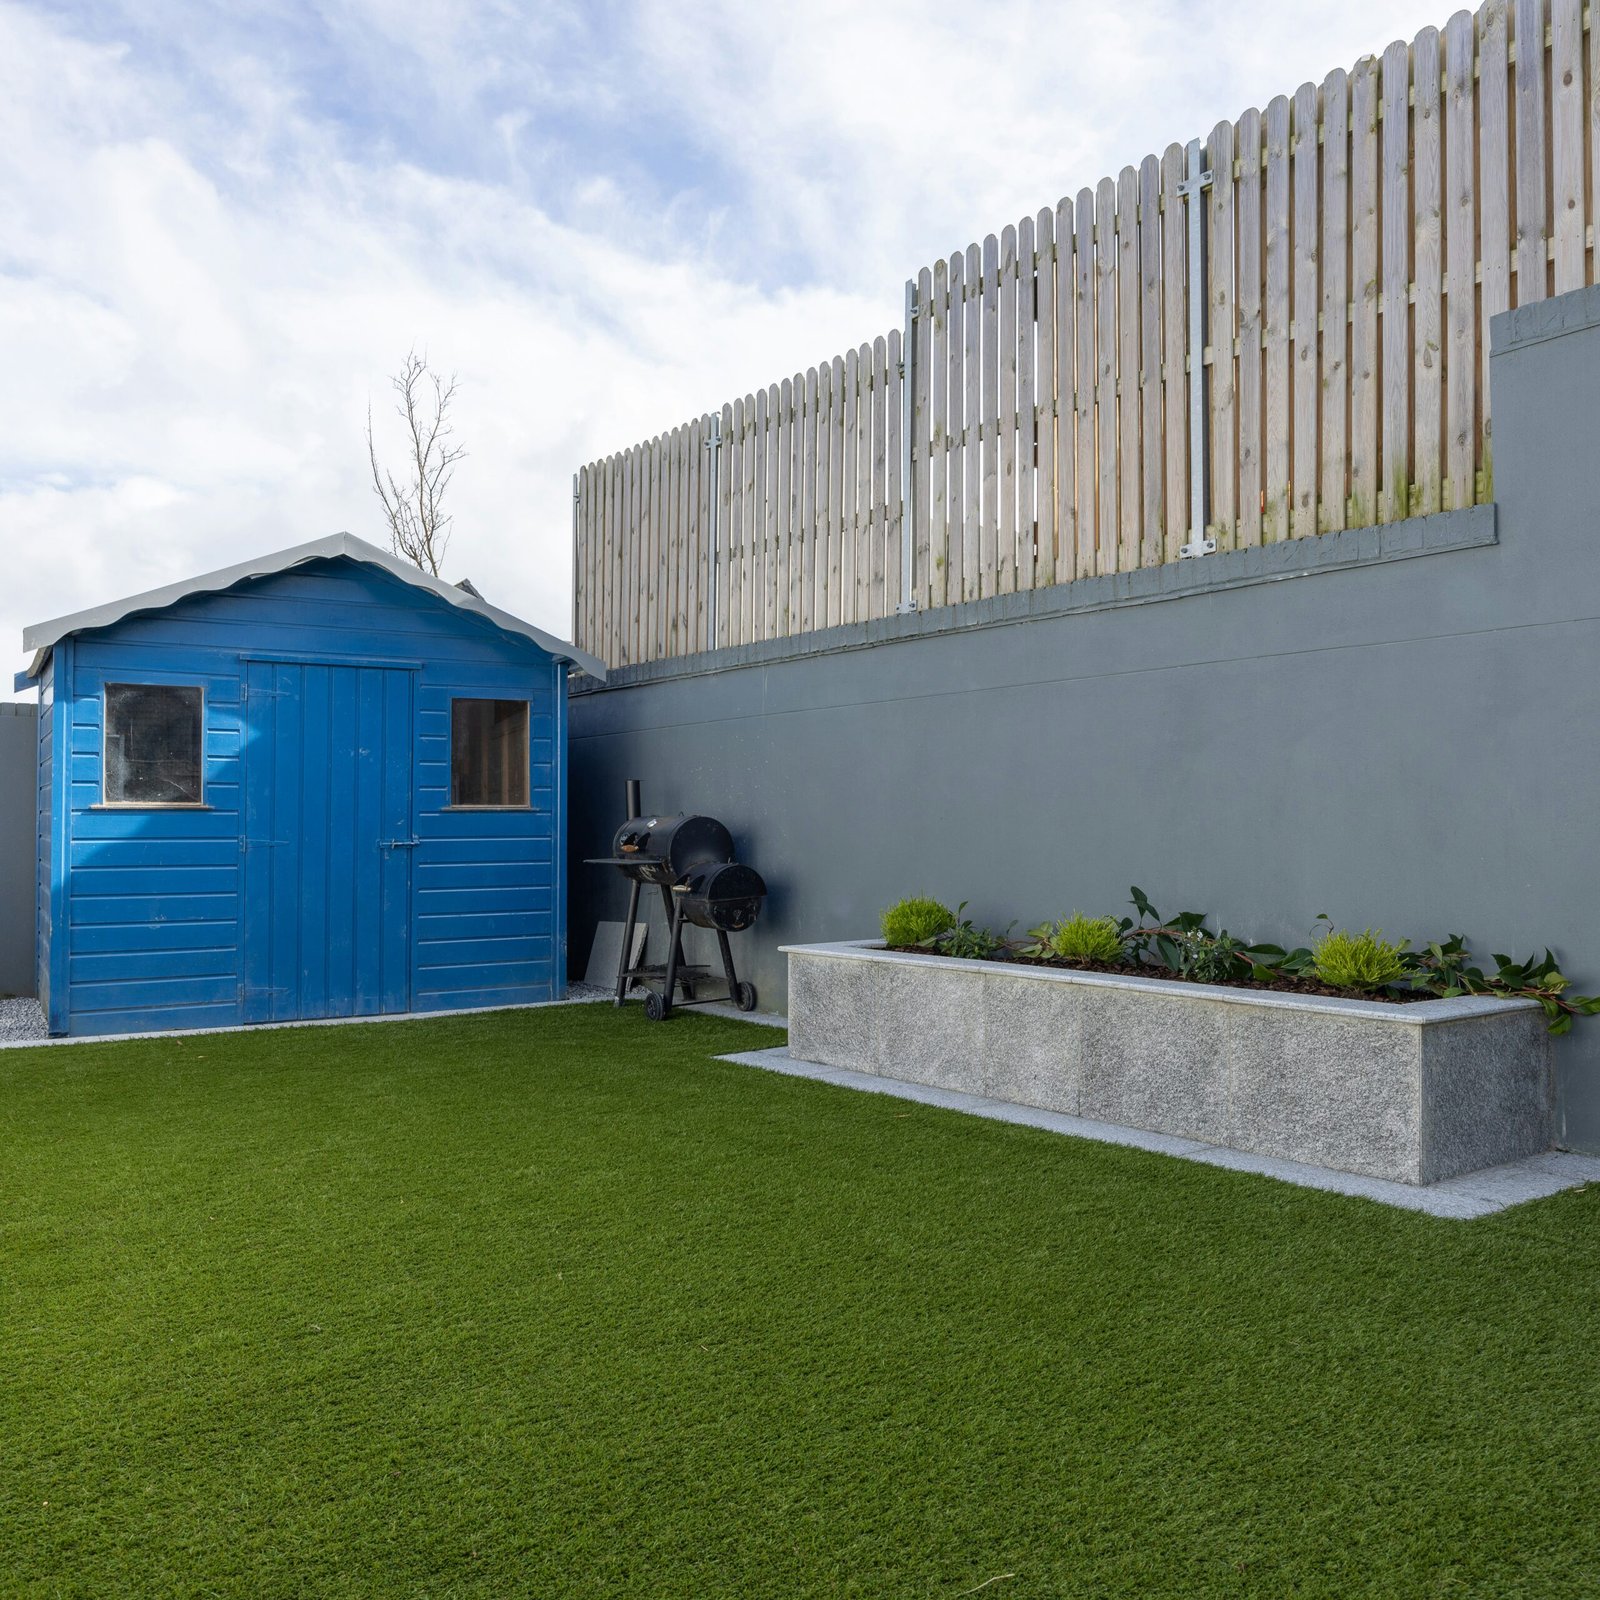
Pet areas:Use high-drainage, odor-resistant types
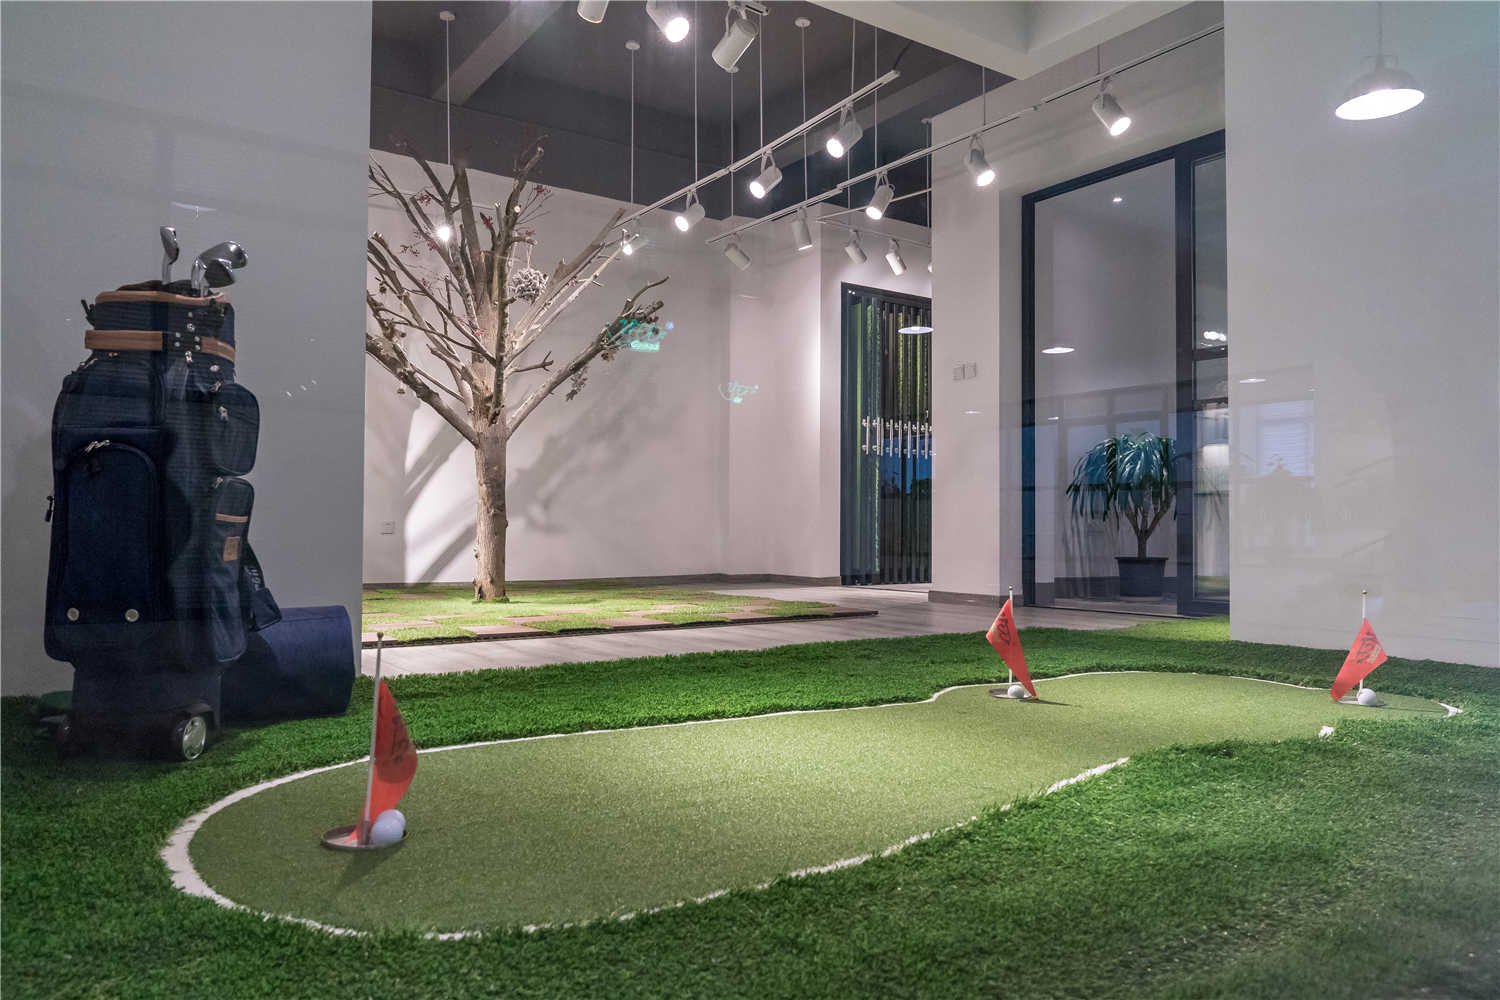
Commercial spaces: Opt for durable, flame-retardant models
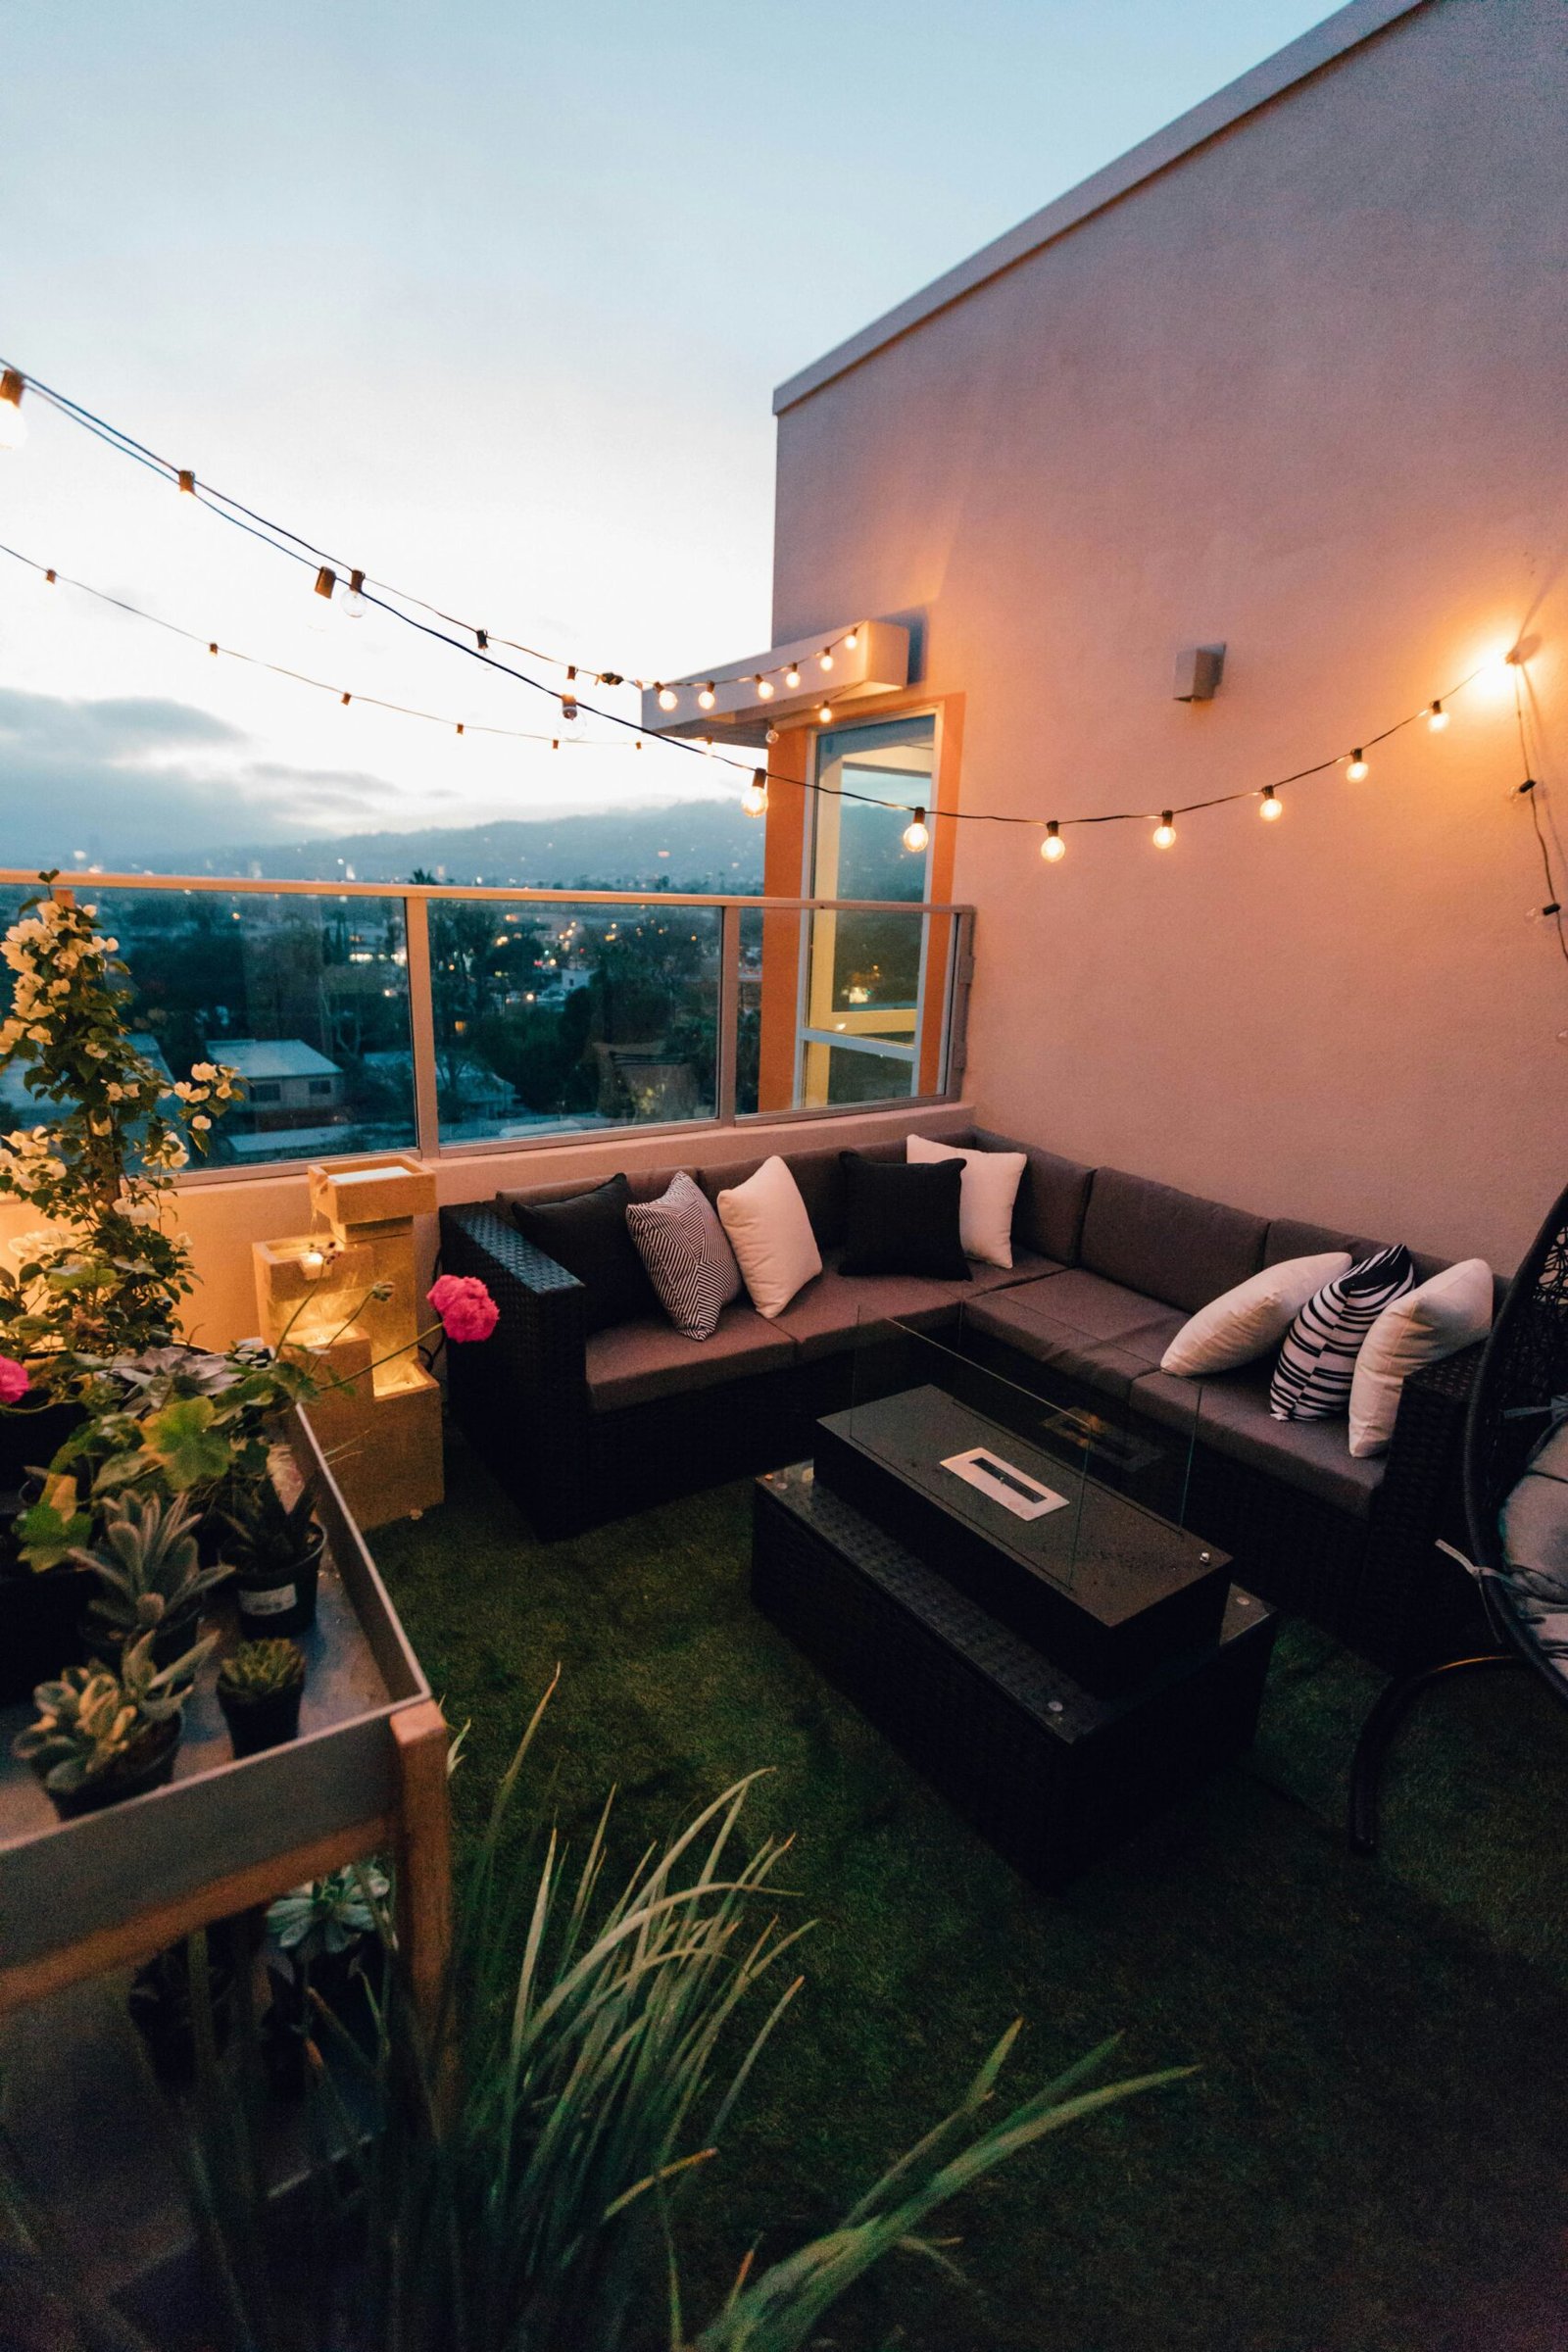
Balconies and terraces: Choose lightweight turf rolls; combine with drainage mats if needed
11. Conclusion: Installing Like a Pro Is Simpler Than You Think
With proper planning, quality materials, and step-by-step execution, DIY turf installation is entirely achievable. Still unsure? Download our PDF installation guide or contact us for personalized support.


Download free layout guide & tools checklist: [Click here]
Shop recommended turf products: [Browse product collection]